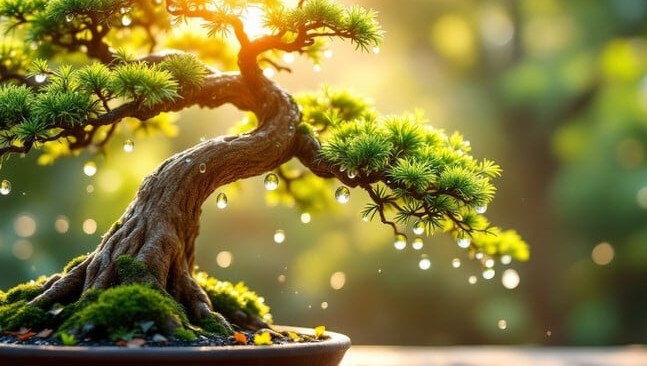
Bonsai forests are like tiny worlds you cultivate with your own hands—little living ecosystems that tell a story of nature’s complexity captured in miniature. When I first delved into bonsai forests, I remember feeling intimidated by the idea of managing multiple trees at once. But here’s what most people don’t realize: a bonsai forest isn’t about perfection or controlling every branch; it’s about embracing the natural chaos and subtle beauty that emerges when trees grow together.
What Makes a Bonsai Forest More Than Just a Group of Trees?
Think of a bonsai forest as a conversation happening among trees, rather than a single tree monologue. Unlike a standalone bonsai where each bend or twist tells its own tale, in a forest, the magic is in relationships—how trunks lean toward one another, how shadows overlap, how the canopy creates varying layers of light and shade.
The real challenge—and joy—is arranging these trees so that you’re mimicking nature’s irregular patterns while keeping visual harmony. That means no uniform spacing, no identical heights, and definitely no regimented rows.
Years ago, I worked with a cluster of Japanese maples and discovered that letting one tree grow slightly taller and twist sideways while another stayed short and tight gave the whole setup a sense of depth. You want it to feel like a moment in a real forest—quiet, unforced, and alive.
Choosing Your Trees: Why Species Uniformity Matters (But Doesn’t Have to Be Boring)
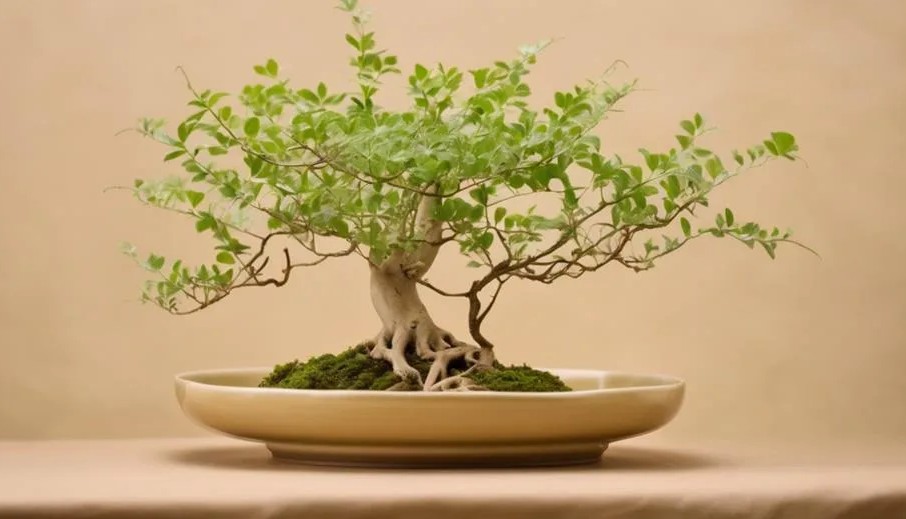
Most beginners opt for 3 to 7 trees of the same species, and there’s a simple reason: consistent foliage size and color create cohesion. Japanese maples, elms, and junipers are classic choices because they respond well to pruning and develop beautiful, manageable foliage.
But here’s a little secret from my own trials: once you get comfortable, mixing very closely related species—like two types of junipers—can add interesting texture without breaking harmony.
The key is to understand your species’ growth habits. For instance, Japanese maples are graceful and delicate, perfect for mimicking a gentle, leafy woodland. Junipers, with their rugged bark and needle-like leaves, evoke piney, mountainous forests. Knowing how your tree grows helps you anticipate the kind of “story” your forest will tell.
Container Hunting: More Than Just a Pot
Going beyond a “wide, shallow pot,” think of your container as the forest floor—the stage where your mini-ecosystem unfolds. When I’m selecting pots, I look for something with character: subtle textures, irregular shapes, or earthy glazes that complement the species and seasonality.
For example, I paired a rustic, hand-thrown ceramic tray with a juniper forest, and the rough glaze echoed the bark’s texture, amplifying the forest’s rugged feel.
Drainage is non-negotiable, but also consider the depth. Too shallow, and roots get cramped; too deep, and the forest loses its visual scale. Around 2-4 inches of depth usually works well, but don’t hesitate to go a little deeper with species that have robust roots.
The Layout: Dancing with Nature’s Imperfections
Before planting, I always arrange my trees on the ground or table repeatedly. Try to avoid symmetrical patterns—it’s tempting to place trees evenly, but real forests are beautifully irregular.
Place one or two trees slightly forward or backward to create natural depth. Remember, taller trees don’t necessarily have to be in the back; sometimes pushing a tall tree off-center adds more interest.
In one project, I arranged five maples with the tallest shifted off to one side and a tiny sapling almost hidden near the edge, like a shy sapling struggling for light. The contrast drew people’s eyes across the entire scene instead of focusing narrowly on the center.
Soil and Planting: More Than Just Dirt
The right soil mix is one of those behind-the-scenes factors that can make or break your bonsai forest. I recommend the classic akadama-pumice-lava rock mix, but here’s what experience taught me: don’t hesitate to tweak ratios depending on your climate.
For humid environments, I add slightly more pumice to increase drainage; in drier regions, a bit more akadama helps retain moisture.
When planting your saplings, consider how roots will intertwine—or deliberately avoid tangling too much. Overcrowded roots can stress your trees, but some gentle interweaving creates visual unity as trunks and branches lean into each other above ground.
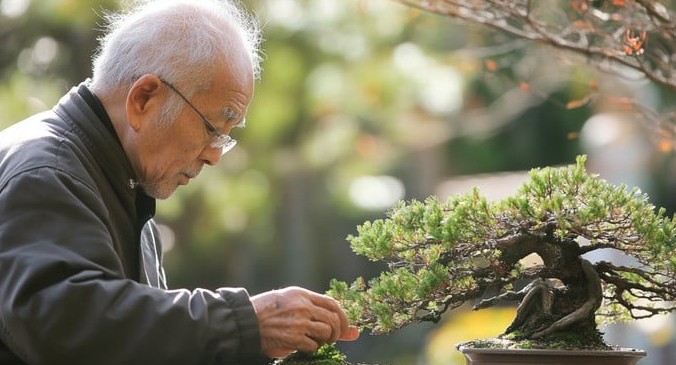
Ongoing Care: The Dance of Patience and Observation
A bonsai forest is never “finished,” and that’s exactly why it’s so rewarding. I check mine daily in warm months—not just for watering but to watch subtle changes in growth.
Some days you’ll notice a branch growing faster; other times a leaf turns a different shade. These little signals tell you when to prune or when to adjust sunlight.
Keep in mind that a forest’s soil dries faster than a single bonsai’s because the combined root systems drink more water and the canopy blocks airflow. If your soil dries unevenly, try grouping your bonsai forests in a spot where air circulates well but isn’t too drafty.
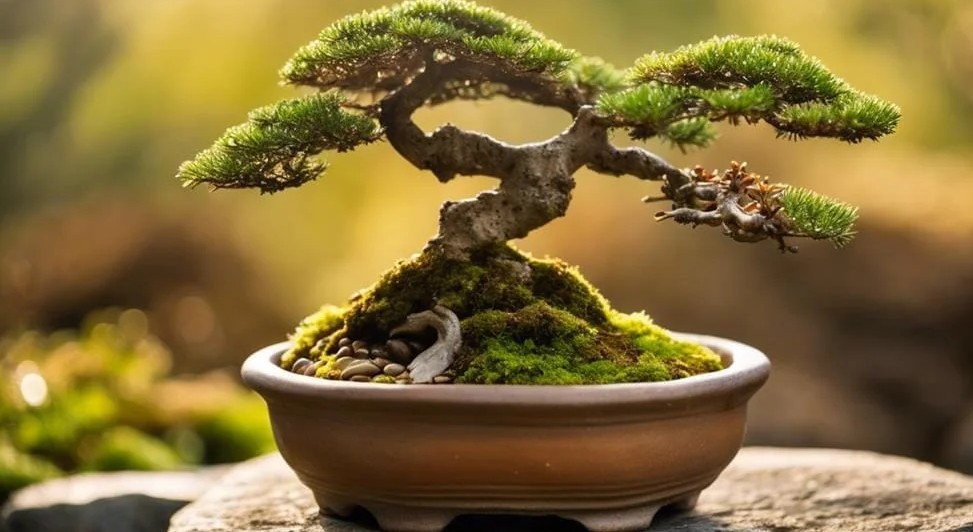
Adding the Finishing Touches: Ground Cover That Breathes Life
Bare soil is the quick way to break a forest illusion. I’ve had great luck layering moss or tiny ground covers like baby tears to mimic a forest floor lush with life.
Adding little rocks or fallen pine needles can simulate natural debris. One of my favorite moments has been photographing a mature bonsai forest after I sprinkled some tiny pebbles and moss, and the scene looked like something straight out of a Japanese landscape painting.
Real-Life Lessons from My First Bonsai Forest
When I started with my first bonsai forest—five Chinese elms in a shallow oval tray—I learned the hard way about crowding. The trees grew too dense and roots tangled badly, causing stress visible in yellowing leaves.
Repotting into a bigger tray and carefully trimming roots every couple of years made all the difference. Also, I found the forest really bloomed after I added moss; it changed the whole vibe from a bare grouping to an immersive woodland scene.
Overcoming Challenges Without Losing Heart
Feeling overwhelmed is normal. Managing several trees can seem like juggling too many balls, but begin small with just three saplings. Let yourself make mistakes—each prune and watering misstep is a lesson.
And if growth looks uneven, don’t hesitate to prune more aggressively on the overachievers or even rotate your forest to balance sunlight.
One trick that helped me: take photos monthly. Looking back, I could see the slow but undeniable progress, which kept me motivated through frustrating phases.
Next Steps to Building Your Own Mini Forest
- Start with a species you love—visit your local nursery and talk to staff about hardy bonsai saplings suited for your climate.
- Take your time exploring containers—sometimes thrift shops or pottery markets surprise you with unique pots perfect for forests.
- Experiment with layout outside the pot until it feels right. Trust your eye for natural irregularity more than strict rules.
- Prepare or source quality bonsai soil that suits your environment.
- Plant gently, then water thoroughly.
- Place your forest in indirect light and monitor it daily.
- Learn pruning through videos or local bonsai clubs; real community advice is priceless.
- Be kind to yourself as your forest grows—patience is part of the art.