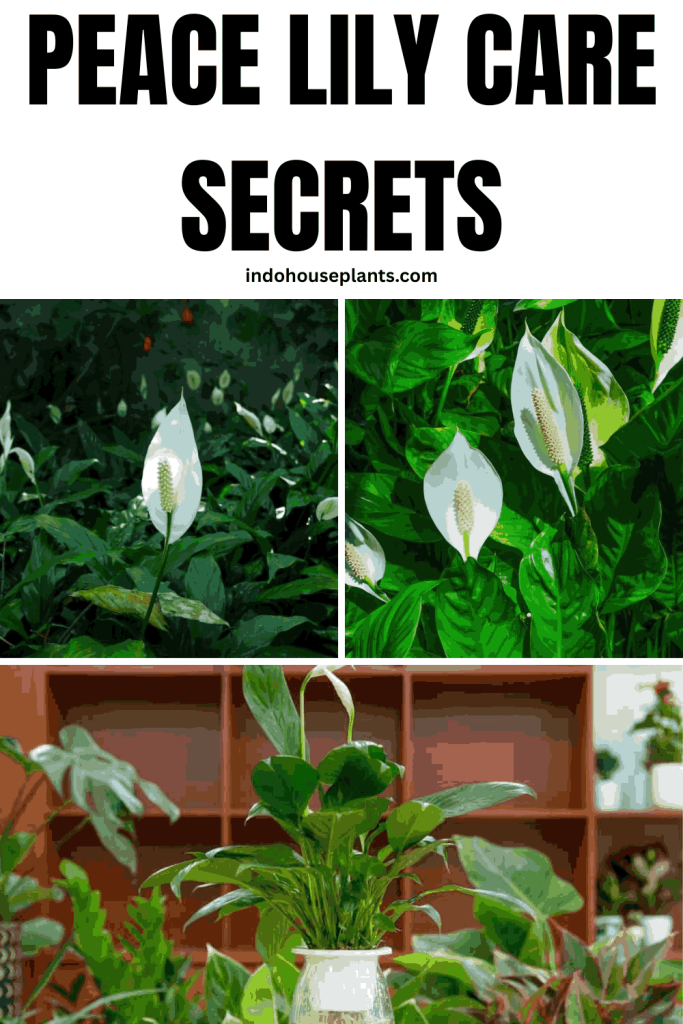
After nearly two decades of wrangling houseplants—peace lilies included—I’ve seen the good, the bad, and the deeply dramatic. If you’ve ever walked into a room and found your peace lily splayed out like a fainting actor in an old movie, don’t panic. I’ve been there more times than I care to admit, and I promise: these plants are more resilient (and opinionated) than most plant guides will tell you.
Let’s get into what really works for keeping peace lilies not just alive, but thriving—as in putting out those glossy new leaves and surprise flowers you didn’t expect. Most of what I’ll share here comes from my own trial-and-error (including some spectacular failures), plus a few “why didn’t anyone tell me this earlier?” moments.
The Truth About Light: Don’t Trust Your Eyes Alone
Here’s what most people don’t know: the naked eye is a terrible judge of “bright indirect light.” I used to think that if I could see well in a spot, so could my plants. Wrong!
What worked for me was buying an inexpensive light meter app on my phone ($2 well spent), which showed me that even a sunny-looking room could be too dim for flowering.
Back in 2019, I moved my stubborn non-blooming peace lily from ten feet back in my living room to three feet from a north window (where the meter read at least 150 foot-candles during most of the day). Within six weeks, boom—blooms.
Insider tip: Lighting changes seasonally, even indoors. Every fall when sunlight shifts, I nudge my lily closer to its window buddy by about half a foot.
Watering: Timing Is Overrated
A common mistake I see (and made myself) is sticking to a rigid watering schedule because it feels safer. The truth? Peace lilies talk with their leaves—a bit like dogs pawing at their water bowls—and want us to listen instead of follow a calendar.
What worked for me:
- Instead of weekly reminders, I keep a wooden chopstick next to the pot. Before watering, I poke it down two inches; if it comes up clean or almost dry, water’s due.
- If the stick is damp or dark—skip today.
The first time I skipped scheduled watering using this method, my plant looked limp one morning but perked up within hours after watering—a much happier recovery than when I’d overwatered before.
Unconventional approach: Occasionally skip watering after flowering finishes; letting soil go almost dry can kickstart the next round of blooms (peace lilies are sneaky like that).
Dealing With Tap Water Woes
If you notice brown tips no matter how perfect your light and moisture seem—suspect your tap water before blaming yourself.
Years back when I lived in an old apartment with heavily chlorinated water, every peace lily leaf ended up crispy-edged until an older gardener told me her secret: collect rainwater or leave tap water out overnight in an open jar before using it.
Resourceful workaround: Can’t do rainwater? Brita filter pitcher water works well too. After switching one winter (cost me $13 for a basic pitcher), new growth came in smooth and green instead of burnt at the edges.
Humidity Hacks Most Guides Miss
Everyone says “more humidity,” but very few mention this: placing your lily near bookshelves or curtains makes air even drier around them.
Mine sulked all last winter…until I started running a $20 desktop humidifier nearby during heating season—not directly on top of the plant, just within arm’s length. You’ll feel and see the difference; new growth comes in broader and glossier when humidity hovers above 40%.
Another overlooked trick: At one point, I grouped my peace lily with ferns and pothos on top of an old fish tank with no fish—a low-effort way to keep local air moist.
Pruning & Cleaning TLC That Makes All The Difference
Here’s something rarely mentioned but game-changing: monthly leaf dusting isn’t just cosmetic—it literally boosts photosynthesis.
Once when mine was looking tired despite perfect care, wiping each leaf gently with a damp microfiber cloth gave it new life within days (plus fewer spider mites). Don’t underestimate five minutes spent cleaning leaves—it can mean weeks’ worth of healthier growth.
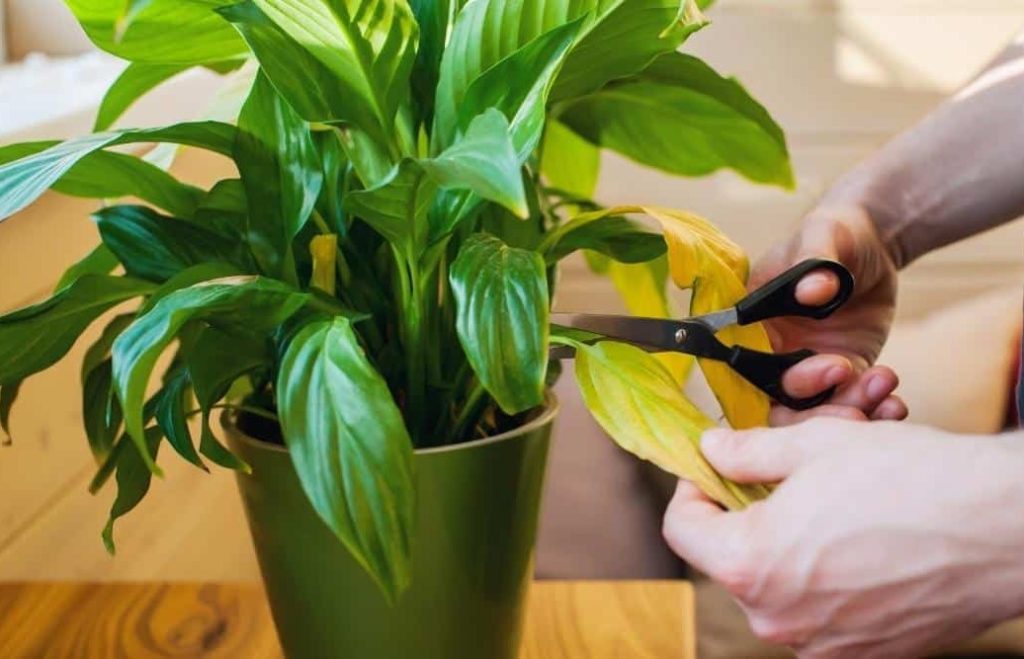
And when lower leaves turn yellow—even if you’re doing everything else right—clip them off cheerfully! In my experience, holding onto dying foliage only stresses out new growth. Think of it as giving your plant permission to let go and move on.
Real-Life Quick Wins and Disasters
- Hard-Learned Lesson: One year during vacation prep chaos, I left my plant sitting in half an inch of runoff for over a week (rookie mistake). Result? Foul-smelling roots and mushy stems—root rot city. Repotted into fresh soil with generous perlite mixed in (about 1 part perlite to 3 parts soil)—it bounced back after six weeks.
- Small Adjustments Matter: An office client’s peace lily always drooped midweek until she stopped topping off her saucer daily; simply letting excess drain away made all the difference.
- Dialogue Moment: Once asked an old nursery owner why her peace lilies always looked pristine while mine looked bedraggled by March—she grinned and said “I talk to them while dusting!” Corny maybe…but now every time I wipe leaves or check soil moisture, I give mine some encouraging words too.
Troubleshooting Table From Experience
| Symptom | Likely Cause | Insider Fix |
|---|---|---|
| Yellow lower leaves | Overwatering | Repot if drainage is poor; use chunkier mix |
| Brown crispy tips | Low humidity/chemicals | Try filtered/rainwater + humidifier/pebble tray |
| No blooms | Too little light | Move closer to window; try post-flowering dry spell |
| Persistent pests | Dust buildup | Monthly wipe-down + gentle soapy rinse |
If You Do Just Three Things…
- Move your peace lily closer to real daylight—even shifting by two feet matters more than any fertilizer ever will
- Ditch strict schedules: learn your plant’s personal rhythm by checking moisture regularly
- Wipe those leaves monthly—you’ll be amazed at how proud they look afterward
Don’t worry about getting everything perfect—the real mastery comes from noticing what your particular plant ‘says’ through its posture and color over time. Each mistake is just another step toward becoming that person whose friends ask for plant advice!
From my experience: patience pays off with these beauties—and they’re far less fragile than Instagram would have you believe once you drop perfectionism and start experimenting fearlessly. Your future lush green companion is only a couple good habits away