Let’s skip the fluff: The world of indoor plant lighting is full of pitfalls people don’t talk about—especially when you’re just swapping advice with strangers online. Truth is, a lot of well-meaning guidance leaves out the frustrating, head-shaped-dent-in-the-wall moments every newbie (and even seasoned plant parent) stumbles over.
I’ve lost track of how many times I’ve scrapped a setup that looked perfect on paper but crashed in reality. So, let’s talk real-world mistakes most folks quietly sweep under the rug—and what actually works if you want happy plants indoors year-round.
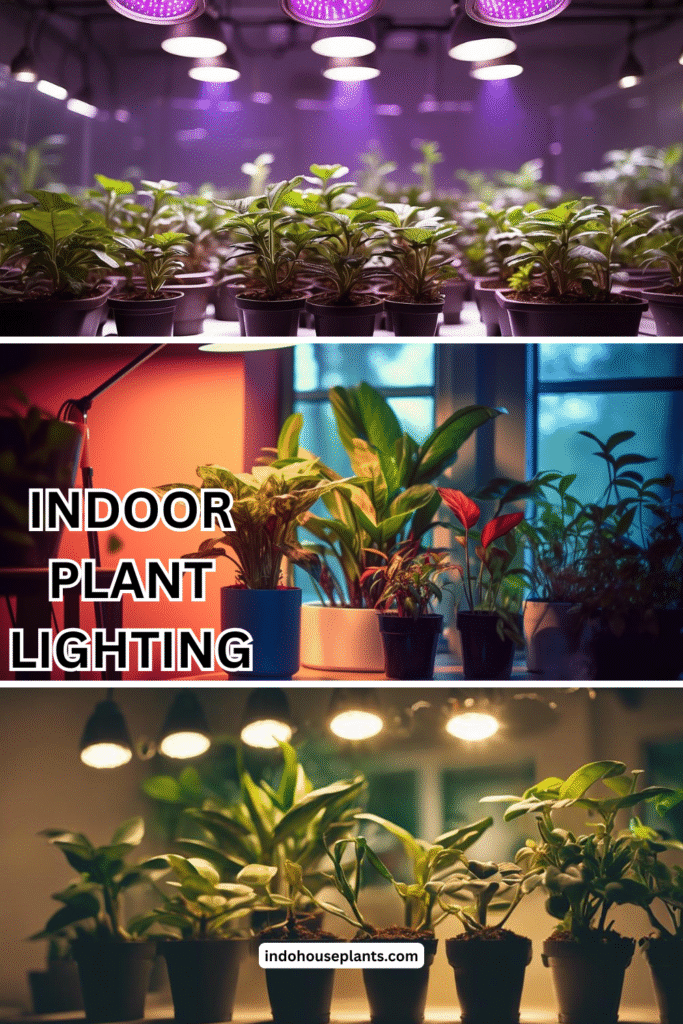
Why Your Plants Are Still Sad Even with Fancy Lights
Let’s be honest: Buying a “full spectrum” LED bulb feels like magic… then three weeks later you’re staring at spaghetti-stemmed pothos or crispy fern tips, quietly wondering what rule you broke.
Here’s what most people don’t know: Full spectrum doesn’t mean “set and forget.” Most LEDs marked as ‘plant friendly’ do little if they’re not close enough—turns out, light intensity drops off fast. In my early days (back in 2017), I left a brand-new grow bulb three feet away so I could “light up more plants.” All I got was leggy stems and disappointment.
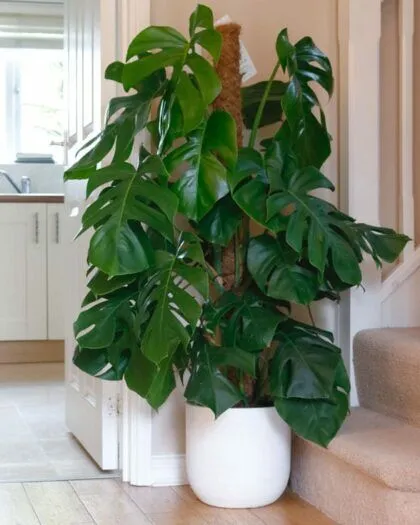
What works: Grab your tape measure, get ruthless, and keep that bulb 6–10 inches from your plant’s top leaves—even if it means you can only light one shelf instead of two. When I finally moved mine closer (risking all aesthetics), my snake plants plumped up in ten days flat.
“One Bulb Fits All”? Not So Fast
Everyone parrots the same advice: “Any indoor plant will thrive under a grow light if it’s full-spectrum!” Reality check: some need way more punch than that bulb provides.
Mistake nobody mentions: Grouping sun-hungry succulents right next to low-light ferns under a single lamp. My aloe practically cooked while my bird’s nest fern sulked underneath—because bright, direct for one is totally different for another.
What fixes it: Start with ONE type of plant per lamp until you understand how each reacts. It seems simple (borderline silly!) but grouping by light needs changed everything for me—I stopped smothering shade lovers while starving the sun-junkies.
Timers Sound Foolproof—But Here’s Where Most People Goof Up
Yes, plug-in timers are brilliant—but here’s where beginners mess up (myself included): Forgetting daylight changes throughout the year. You plug in your timer during gloomy December … but then May hits and now those hours blast your peace lilies into sleep deprivation territory.
Once, I ran my lights for 16 hours mid-July after copying winter settings—a rookie move that left me with fried leaves sporting brown tips.
Fix: Mark calendar reminders for the equinoxes (March/September) to review your timings. Drop to 12 hours when real daylight spikes—or just pay attention to leaf color/slumped posture as hints it’s too much.
The Ugly Truth About Placement
We’d all love elegant pendant lights swooping over an Instagram-worthy jungle shelf…but here’s what really happens: clamps slip or wobble overnight, beams drift away from the target zone, and suddenly only half your greenery gets any benefit at all!
Personal confession: My old gooseneck lamp “gently” toppled onto my pilea one night; I woke up to burned spots where it rested too close. That scorched circle? Unforgiving. If you’ve set up clamp lamps before bed and woken up anxious about their stability—welcome to the club.
Insider tip: Use heavy-duty binder clips or zip-ties to truly fix clamps in place; or wedge lamps between immovable objects—not just perched where they look pretty.
Overwatering Is Way Easier With Extra Light
One overlooked trap: More light means faster soil drying…sometimes too fast if you play things safe with watering routines tailored for dim corners. But lots of folks swing too far—they see crispy leaves and immediately drench everything…root rot city!
“The reality is,” weak roots from soggy soil + stronger light = double disaster. Been there with a jade cutting I thought was dying of dehydration—spoiler: it was drowning while reaching desperately for sun.
My rule now: Stick my finger literally into the dirt every time before watering post-light upgrade; no shortcuts! For techies—a $12 moisture meter saved more plants than any fertilizer ever did. You can find a reliable one at a site like Gardeners’ Supply Company.
When Cheaping Out Goes Too Far
There are some budget cuts nobody wants to talk about—for example: running cheap white LED headlights instead of actual grow bulbs because they LOOK similar (yes, I tried this). Result? Zero growth spurts after two months…and wasted power bills anyway!
“Skip the fluff”—pay $15–$25 extra for a true grow-rated LED bulb (they’ll have PAR specs or specifically mention reds/blues). No need to spend $100+, but also don’t trust those random strip lights without real reviews behind them.
The Fix-It List Nobody Gives You
Here are test-driven fixes learned through trial by fire:
- Have a measuring tape handy always; eyeballing distances leads straight to disappointment.
- Screw new bulbs tightly & check positioning every week; vibration makes them shift.
- Keep a logbook: Jot down timer changes/lamp distance/plant reactions—it’ll save stress months later when something droops.
- If it fits your routine better than gadgets: Sticky notes on switches sometimes work better than smart timers—do what actually keeps you consistent.
- Cheap aluminum reflectors (even pie tins!) boost brightness without buying pricier gear; tape them above/beside lamps for an instant intensity bump!
Real Setups That Worked After Several Fails
- For herbs on kitchen counters without windows: GrowBar ($28 online), stuck under cheap IKEA shelves with 10-inch zip ties—keeps parsley perky all winter.
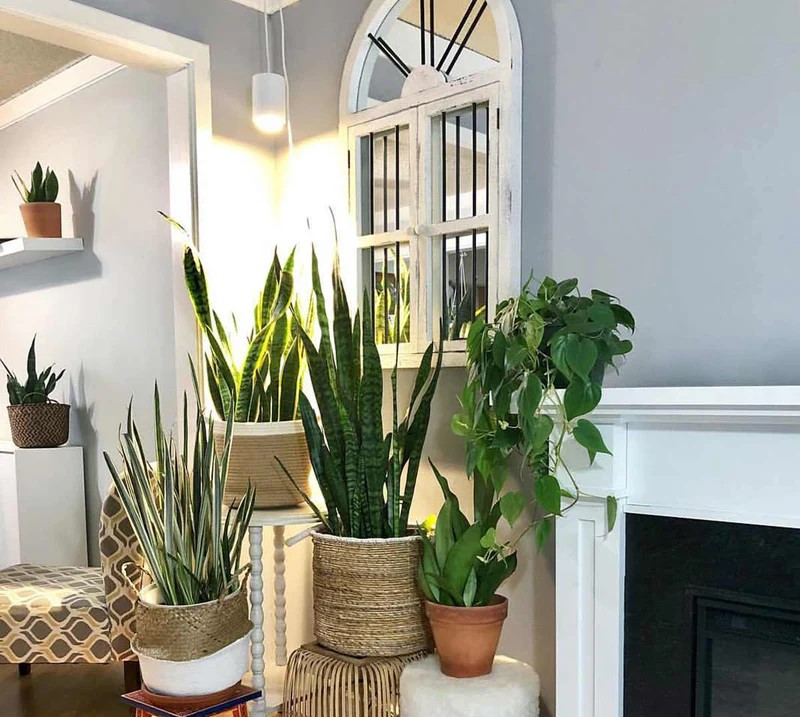
- My peace lilies needed way less light than guides said; thrived halfway UNDER bookcase edge paired with partial morning natural sun + 10hr LED timer cycle.
- One summer project? Closet convert! Clothes bar removed, two Home Depot clamp lamps added at both ends with reflectors facing slightly inward—not beautiful but wow did ferns take off after years limping beside north-facing windows.
- And for that “painted monstera leaf” look? Nothing beats moving your lamp just TWO INCHES closer overnight then watching new splits form within three weeks…wrote myself sticky notes not to nudge further!
Progress Beats Perfection—Every Single Time
The biggest unspoken truth? There is no single “right way.” Plant lighting takes tweaks—and often several tries—before everything hums along smoothly. Don’t let shiny photos trick you into thinking everyone else nails it effortlessly on day one.
Real progress shows up as small victories—a thicker stem here, greener leaf there—not instant jungles overnight!
So yes—you’re absolutely cut out for this! Stumble once or twice? Join the club—we’ve all baked a few peperomias learning along the way.
Here’s what matters:
- Focus on honest observation over hype.
- Take time adjusting distances/timers based on your plants’ actual feedback.
- Celebrate each tiny bit of growth like winning gold—even if nothing looks like Pinterest yet!
Ready? Start small—a clamp-on grow light over ONE favorite plant—and promise yourself no panic until two full weeks pass by. Then fine-tune using these practical lessons instead of chasing quick hacks or influencer setups designed just for good photos!
Go flip that switch—the best home jungles start with one stubborn experimenter who refuses to quit after the first mistake!