When I first decided to plant an avocado tree, I realized it wasn’t just about sticking a seed in the ground and hoping for the best. Avocados are a little like that friend who needs just the right balance of sunshine, water, and TLC to truly thrive. Over the years, I’ve learned a few things that most people don’t tell you when you’re getting started, and those nuggets made all the difference in my tree’s success.
Picking the Perfect Spot: More Than Just Sunlight
Everyone says “full sun” and “well-draining soil,” and that’s not wrong, but here’s the kicker: it’s not just about getting six hours of sun, it’s about morning sun specifically. Afternoon sun can be brutal, especially if you live in a hotter climate.
My first avocado sapling got scorched, despite being “in full sun”—the spot was facing west, baking it with harsh afternoon heat. Moving it to a spot where it soaked up gentle morning sun and some dappled afternoon shade saved the leaves from crispy edges and helped new growth flourish.
On drainage, you don’t always have to move mountains if your soil tends to hold water. I built a small raised bed with native soil mixed with compost and a bit of coarse sand around the base of my tree. It creates just enough slope so water runs off without leaving the roots sitting in a puddle after rainstorms.
Seed or Sapling? The Real Deal with Patience
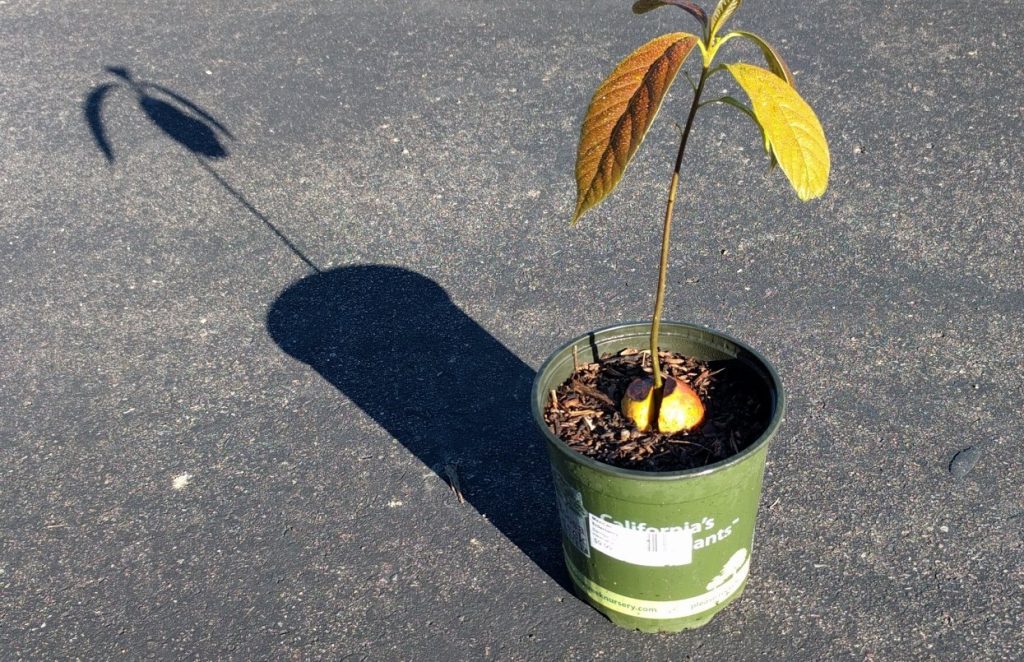
Starting an avocado from seed is a rite of passage for many, but here’s the honest truth: if you want fruit in your lifetime, go with a sapling. Seeds are fantastic if you want to experience the magic of watching life emerge, but I won’t sugarcoat it—it’s a multi-year slow burn, sometimes stretching a decade before you see fruit.
That said, my friend Tom swore by the seed method, carefully suspending his pit over water for nearly six weeks. When those roots finally sprouted, it was like watching a small miracle unfold in his kitchen window.
The difference with a sapling? You skip the “will it or won’t it grow” phase and get to the fun part: nurturing and watching it reach for the sky.
Digging the Hole: Give Roots Space to Dream
When you’re digging, think like you’re rolling out the welcome mat for your tree’s roots. Twice as wide and deep as the root ball isn’t just advice; it’s about giving roots the freedom to expand without battling compacted soil or competing with other plants.
I remember planting my first tree and getting impatient, trying to cram it into a hole barely bigger than the root ball. That mistake slowed its growth noticeably. After I dug a bigger hole and loosened the soil at the edges—treating the roots like a baby you don’t want to jostle—it perked right up.
A pro tip: don’t be in a rush to add fertilizer right away. Your avocado tree is delicate; too much fertilizer too soon can shock the roots. I wait three months after planting before lightly amending the soil with organic matter or a gentle fertilizer.
Planting Technique: Above Ground Level Matters More Than You Think
Planting your tree’s root ball slightly above ground level isn’t just a neat trick; it’s a lifesaver. In some of my first attempts, water pooled around the trunk after heavy rains, creating perfect conditions for root rot.
Now, I always ensure the soil mounds just a little bit around the roots so rainwater runs off instead of saturating the base.
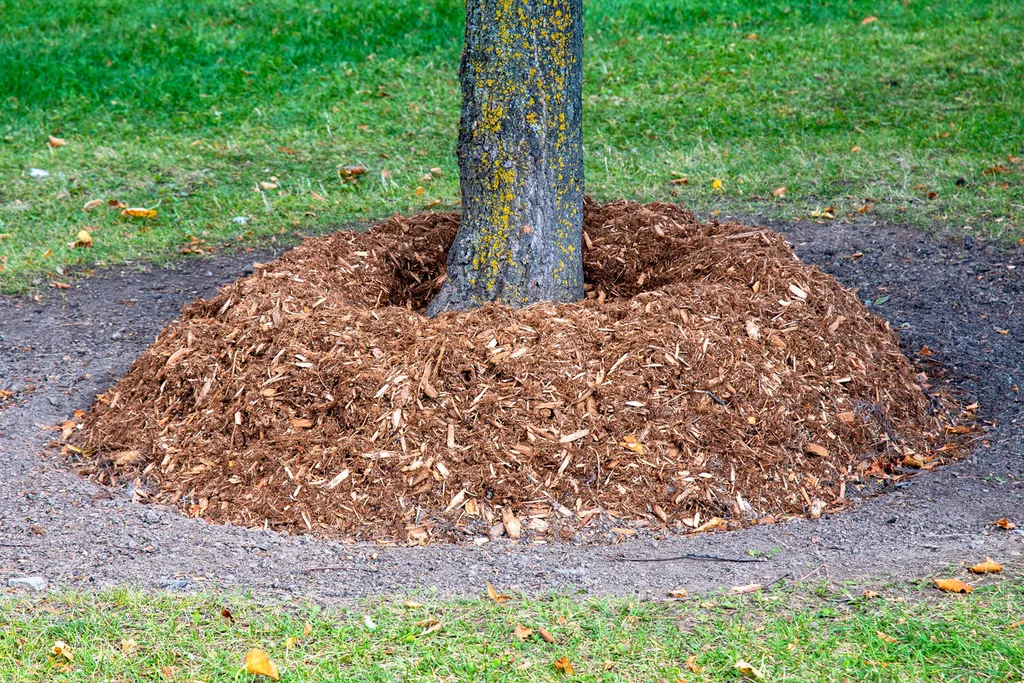
Mulching is equally crucial—but here’s something many gardeners overlook: keep mulch two to three inches away from the trunk itself. When mulch touches the trunk, it invites pests and moisture build-up that can cause decay. A neat little “donut” of mulch around your tree works wonders.
Watering: The Balancing Act That Can Make or Break You
Avocado trees don’t like extremes—too dry, and they shut down growth; too wet, and roots start rotting. During my first summer watering my sapling twice a week, I learned that the key is deep and infrequent watering, not shallow daily sprinkles.
Here’s what I do now:
- I soak the soil thoroughly once a week, sometimes twice in really hot weather.
- I let the soil dry out a bit between waterings.
- I check soil texture—if it feels soggy or leaves turn yellow, I ease back.
When Things Go Wrong: What Most People Don’t Talk About
- Root Rot: This sneaky illness caught me off guard the first year. The leaves turned yellow, and the base felt mushy. I had to dig it out and start over on better-draining soil. Lesson learned: if your spot holds water, build a raised mound or plant in a giant pot above ground.
- Sunburn: Young trees can look crispier than a summer BBQ if you suddenly expose them to harsh sun. When I bring my saplings outside from indoors, I move them gradually to brighter light over several days.
- Pests: Thrips and mites can be a problem early on. My go-to is neem oil—easy to use, organic, and effective. But I always test a small area first.
- Slow Growth: If your tree looks like it’s barely growing after the first year, don’t panic. Avocados like to establish a strong root system first, then shoot up.
A Story from My Backyard
My friend Maria planted an avocado sapling in her tricky, clay-heavy yard. She mixed compost, added sand, and created a slight mound for drainage. By the end of the first year, her tree went from a fragile little sprout to a bushy set of branches full of glossy leaves.
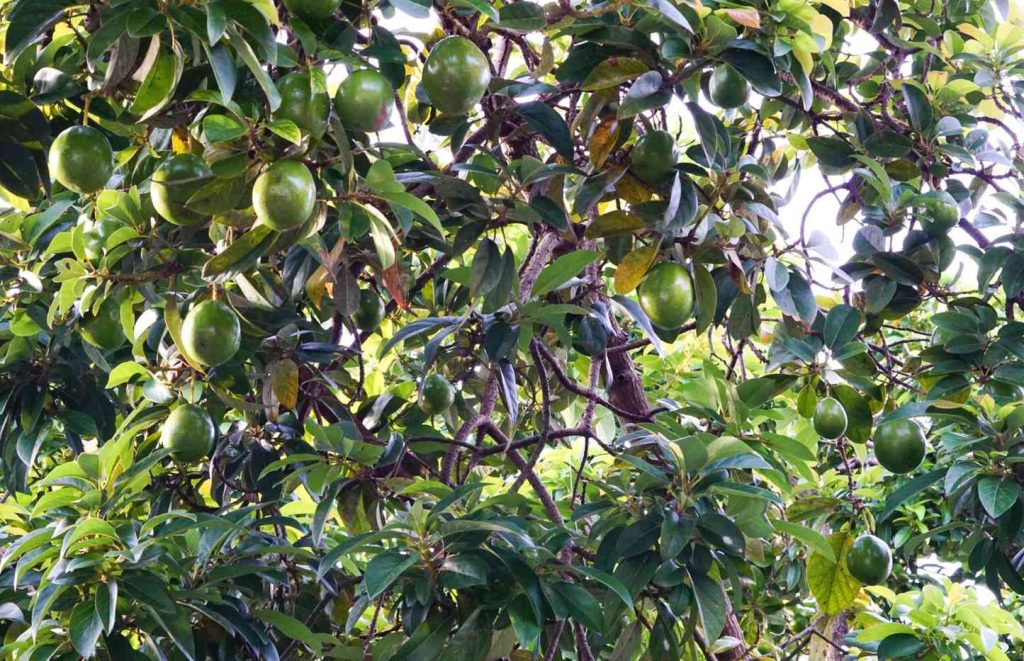
Meanwhile, Tom’s seed-grown tree finally started fruiting in year six, surprising everyone at his local gardening club. His secret? Constant care, patience, and a lot of love.
Getting Started Now
- Walk your yard during the day to find spots with morning sun and good airflow.
- Get your hands dirty by mixing compost or aged manure into the soil weeks before planting.
- Select your starting point: seed for a rewarding long haul, or sapling for quicker results.
- When planting, envision the roots stretching wide by giving them room and loosened soil.
- Remember the details that matter: above-ground planting, mulch “donut,” deep watering.
Growing an avocado tree isn’t just gardening—it’s a slow friendship you build with nature. Trust me, the reward far outweighs the effort.