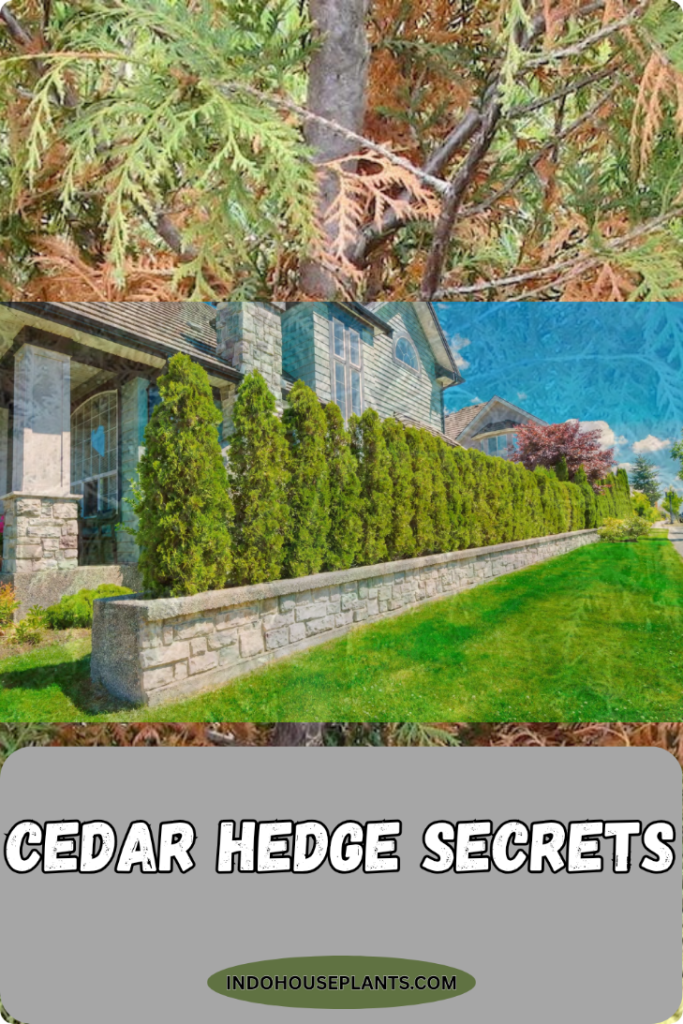
When I first decided to plant a cedar hedge, I was both excited and a little intimidated. There’s something magical about watching a simple row of small trees mature into a thick, evergreen privacy wall—but getting that dense, healthy growth requires more than just sticking plants in the ground. Here’s what I learned along the way—stuff you don’t see in the usual “plant a hedge” articles.
Spacing: More Than Just Numbers
You often hear cedar trees need to be planted 3 to 4 feet apart for a good hedge, and sure, that’s a solid rule of thumb. But here’s what most people don’t realize: the exact spacing can depend on the type of cedar and your ultimate goal.
For instance, my Eastern Red Cedars went in at 3 feet spacing along a sunny fence line. In just two years, they grew thick enough to block out the neighbors’ noisy dog and the street view—but I deliberately avoided going any closer.
In contrast, a friend planted Leyland Cypresses semi-tight at 2 feet apart to create a quicker fence replacement. The tradeoff? She had to trim aggressively and thin them out later because the roots tangled and stressed each other.
- Natural, slower hedge: 3–4 feet spacing
- Instant privacy: Closer spacing (but expect extra upkeep)
The Groundwork Really Makes or Breaks It
I underestimated soil prep the first time around and it showed. My cedars sat in compacted clay for a season and barely seemed to grow. The second time, I called in help to till about 12 inches deep along a 2-foot-wide strip, mixing in plenty of homemade compost and some sharp sand for drainage.
That mulch I layered afterward? Gold. It locks in moisture and keeps weeds at bay without suffocating the soil. I always remind people: cedars don’t like soggy feet, but they hate dry feet too. Striking that moisture balance is everything.
Practical Tips for Planting
- Dig wide holes: At least twice the root ball diameter to prevent circling roots.
- Tease roots apart if root-bound, and plant the root crown slightly above ground level to avoid drowning in heavy rains.
- Watering: A steady inch of water weekly (rain counted) is ideal. Overwatering causes yellowing needles.
Pruning—Less Is More, at First
People tend to get eager about shaping their hedge early. I snipped off tips after just one season and got spindly growth and patchy filling. The lesson: hold back pruning until your cedars are at least 4 feet tall (about two seasons in).
After that, light trimming encourages thick, bushy growth. Skip pruning for a more natural (but irregular) look.
Dealing With Pests And Wildlife
One pesky surprise? Rabbits loved my young cedars. Tree guards saved the day—a must for rural or wildlife-heavy areas.
What I Wish I Knew Before Starting
- Variety matters: Eastern Red Cedar is tough, but Western Red Cedar or Leyland Cypress may suit wetter climates.
- Curved hedges feel more natural than rigid lines and adapt to sun patterns.
- Patience pays off: Cedars focus on root growth first. Sparse early growth is normal.
- Mulch is non-negotiable: Saves weeding time and regulates moisture.

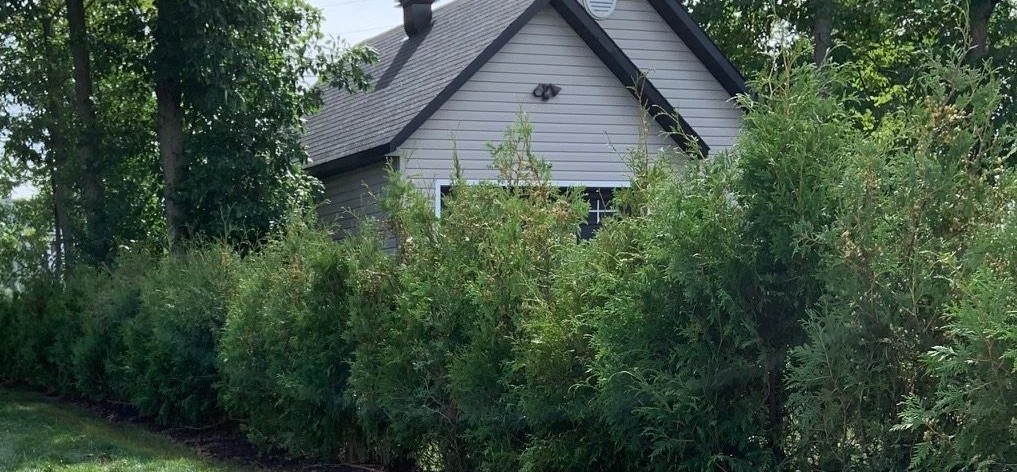
Real Stories From My Hedge Project
- Year One: Barely any visible growth (they were busy underground!).
- Year Two: Rapid thickening after light pruning.
- Year Three: Full privacy and neighbor envy.
Ready To Start? Quick To-Do List
- Choose the right cedar variety—ask local nurseries.
- Map a slightly curved planting line for a natural look.
- Prep soil weeks ahead with compost and aeration.
- Space holes 3 feet apart (adjust for goals).
- Plant shallow, tease roots, and mulch immediately.
- Water consistently—1 inch weekly.
- Delay pruning until Year 2 or 4-foot height.