When I first started cover cropping, I was honestly a bit intimidated—there’s so much chatter about which seed mixes to buy, when to plant, how to terminate… it can feel like you’re navigating a maze. But what really helped me was treating cover cropping less like a complicated science experiment and more like having a conversation with the land, season after season.
Why Cover Crops Matter
Here’s the deal: cover crops aren’t just some add-on or trend—they’re like the unsung heroes of any farm or garden. They act as a living blanket that shields your soil from the relentless beating of rain and wind and quietly rebuilds its vitality in the off-season.
I remember the first time I planted winter rye right after harvesting my summer corn. Within weeks, that field went from a dusty patch to this thick, grassy carpet. It not only stopped soil washing away during heavy rains but gave me a tangible feeling that my land was healing itself.
Timing Is Everything
What a lot of folks don’t realize is the magic really happens in that short window right after harvest. You’ve got this prime opportunity—usually late summer or early fall—where the soil is exposed but still warm enough for seeds to germinate. Wait too long, and your cover crops won’t reach their potential before the cold sets in.
The first year, I hesitated and planted crimson clover too late. Result? A sad, spindly patch that struggled to thrive. The next year, I set a hard deadline to get seeds in the ground just 7 days after harvest, and the difference was night and day.
Choosing the Right Cover Crop
Picking the right cover crop isn’t just about throwing seeds in the dirt. I found it helps to start with a simple question: What’s my biggest need right now?
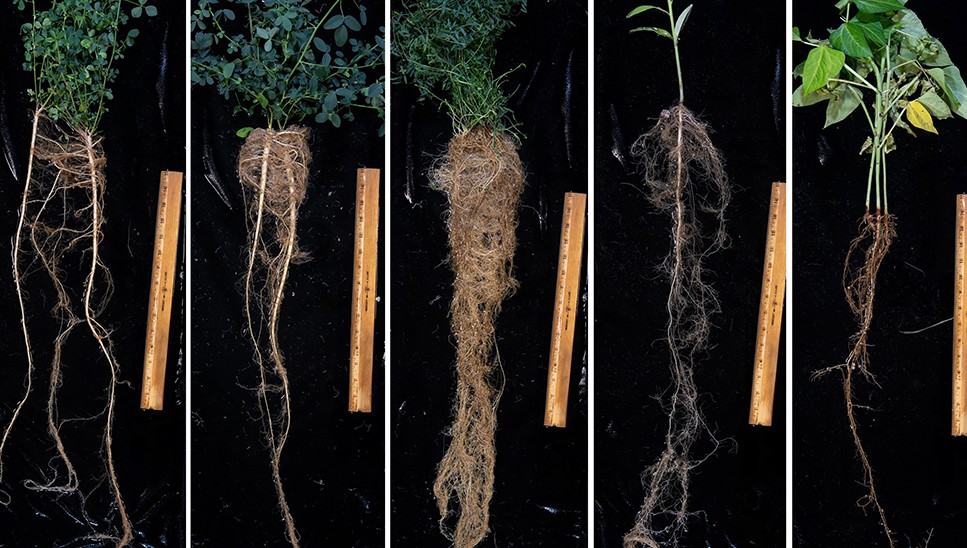
- Breaking up soil compaction? Winter rye with its deep roots is your friend.
- Adding nitrogen? Crimson clover or hairy vetch will do the job naturally.
- Suppressing weeds? Fast growers like oats or radishes can outcompete those pesky invaders.
Planting Tips for Success
One trick I learned the hard way is not to overlook the importance of seed-to-soil contact. Even with great weather and good seed choices, if the seeds sit on top of heavy residue or clumpy soil, germination suffers.
- For larger fields: A light pass with a harrow or using a no-till drill (like this guide from USDA) works wonders.
- For small plots: Broadcasting seeds and lightly raking them in is surprisingly effective.
Moisture is the secret ally here. Planting right before a rainstorm or irrigating lightly after sowing makes a big difference. The first fall I tried cover crops, we hit a dry spell, and many seeds never sprouted. Now, I time planting with forecasted rains.
Termination: To Till or Not to Till?
If you’re wondering about termination, here’s what many don’t talk about: you don’t always have to till—especially if you want to keep soil structure intact.
- Rolling or crimping winter rye creates a natural mulch layer that suppresses weeds and slowly breaks down.
- For small-scale gardens, mowing before planting veggies works great.
Real Stories from the Field
- Sarah, a backyard gardener, planted crimson clover after tomatoes. By spring, her beds held moisture better, and her next tomato crop thrived.
- Mike, a grain farmer, swears by broadcasting winter rye right after corn harvest, lightly disking for seed contact. His spring planting was smoother and more productive.
- Emma, in a community garden, used oats for quick weed suppression between crops—a simple win.
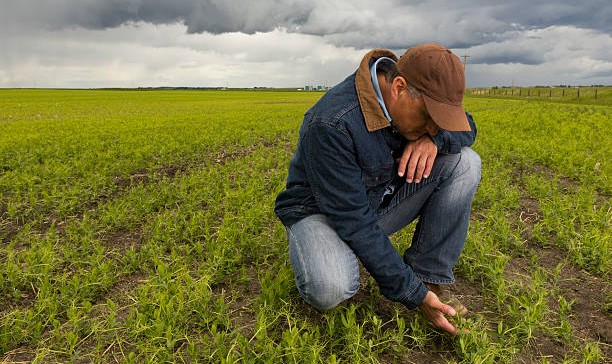
When Things Go Wrong (And How to Fix Them)
If your cover crop fails to establish, don’t panic. Likely culprits:
- Dry conditions? Seed closer to rain or irrigate lightly.
- Poor germination? Check seed-to-soil contact.
Local extension services (like this one) are gold mines for tailored advice.
Final Advice: Start Simple
Cover cropping rewards patience, observation, and trial and error. Start with one cover crop, plant promptly after harvest, and watch your soil’s story change.
Your action plan:
- Mark your calendar for planting the week after harvest.
- Pick 1-2 cover crops matching your needs.
- Prep tools—whether a hand spreader or rented no-till drill.