When I first started gardening, mulch felt a bit like a mysterious step—something everyone talked about but not something I fully understood. Over the years, especially after a couple of sweaty summer seasons and a few trial-and-error moments, I’ve come to appreciate bark mulch as one of the simplest, most rewarding tools in my garden arsenal.
Let me share why bark mulch isn’t just “stuff you throw on the soil” but a real game-changer—and how you can use it confidently, even if you’re new to gardening.
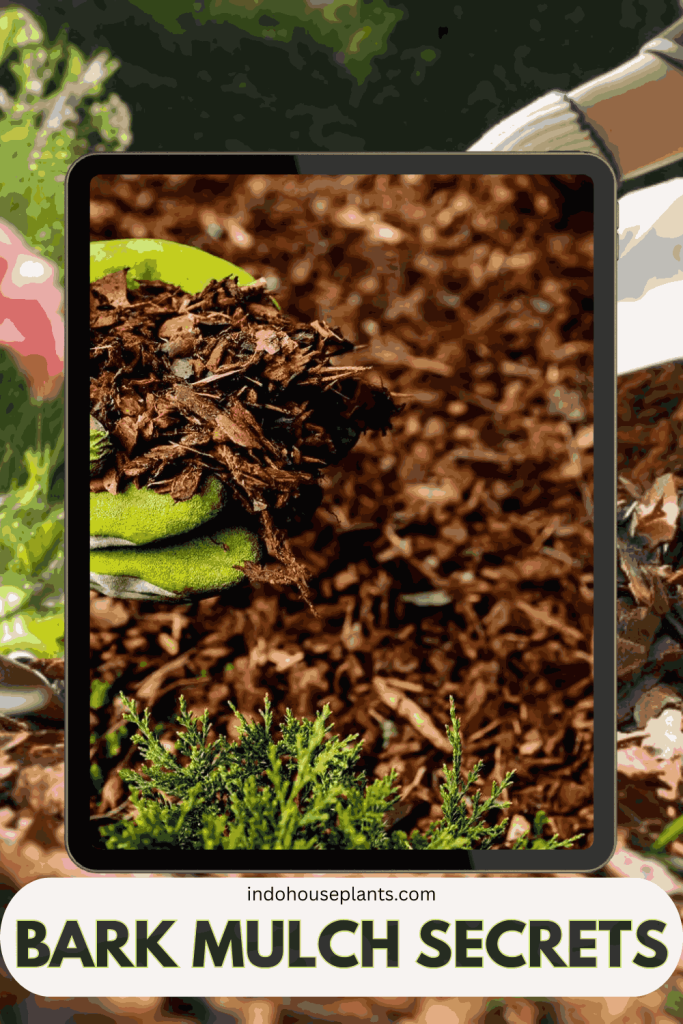
Bark mulch is basically the shredded or chipped outer layer of tree bark, usually from pines, cedars, or hardwoods. What hooked me was how slowly it breaks down—imagine a garden “slow cooker” releasing nutrients gradually over months or even years. Unlike fast-decomposing grass clippings or leaf piles, bark mulch sticks around, holding moisture and steadily feeding the soil beneath.
Here’s what’s really cool, and what took me a while to notice:
- It works like a moisture thermostat. On blistering summer days when I’d dread watering my plants daily, bark mulch kept the soil underneath comfortably damp for longer. I especially saw this around my tomato plants—less water stress, fewer wilting leaves.
- Weeds don’t stand a chance. One summer, my neighbors’ gardens were full of crabgrass, but my mulched beds stayed mostly weed-free. It’s like bark mulch forms a natural shield, blocking sunlight seeds need to sprout.
- Soil health gets a secret boost. As the bark slowly decomposes, it creates a soft, crumbly layer that’s heaven for earthworms and microbes. My garden beds now have a rich earthy smell and look less like dirt and more like living soil.
- It’s a year-round insulation hug. From scorching summer heat to the chills of winter, bark mulch cushions roots against sudden temperature swings. I noticed this especially with my rose bushes; they seemed to bounce back better after heatwaves or unexpected cold snaps.
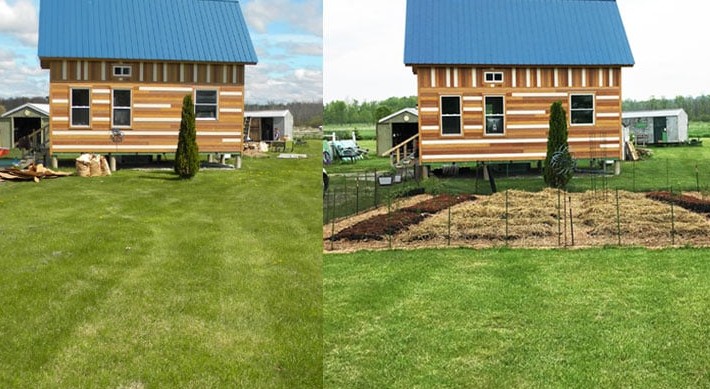
- Instant garden “makeover.” You’d be surprised how much nicer your beds look just by adding a neat layer of bark mulch—the difference between a scruffy patch and a professional-looking garden.
Getting Practical: How I Learned to Mulch Like a Pro
Here’s the thing—mulching feels intimidating because you worry about doing it wrong, but it’s honestly pretty forgiving. Follow these pointers from my own experience:
- Start with a clean slate. Before mulching, I always pull out weeds and clear grass. If you skip this, you’ll just end up feeding weeds beneath the mulch, which defeats the whole point.
- Watch your plant stems! I once piled mulch right up against my rose stems and got some unexpected rot. Now I leave a comfy 2–4 inch “breathing room” so stems aren’t trapped in moisture.
- Don’t go overboard. Kids love to “help” by dumping loads of mulch everywhere. Too thick a layer (more than 3 inches) can suffocate roots or cause water to puddle instead of soak in. Stick to 2–3 inches—it’s just right.
- Pre-water magic. Before spreading mulch, I water the soil a bit. This jump-starts root health and helps the mulch settle nicely rather than blowing away on a windy day.
- Top up yearly. Bark mulch slowly disappears as it breaks down. After a year or so, I add fresh mulch in spring to keep that healthy layer consistent.
Real-Life Garden Wins with Bark Mulch
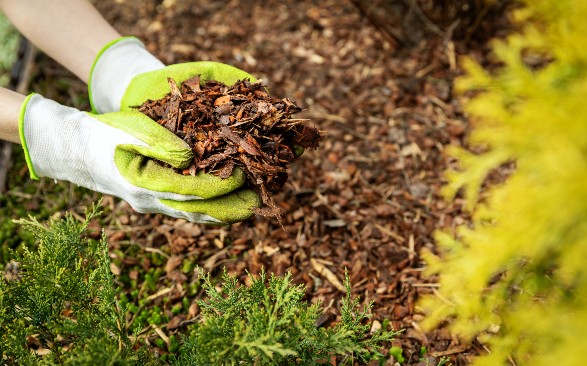
- Roses: My cedar bark mulch around roses has been a revelation—cooler roots, fewer watering days, and way less weed competition. One summer, after a particularly brutal heatwave, I was shocked at how green and vibrant my roses stayed compared to neighbors without mulch.
- Veggie garden pathways: Instead of mud and compacted earth, I laid bark mulch in walking paths last fall. It’s so much easier to move between rows now, and I wasn’t squishing soil with boots during spring planting.
- Young trees: Mulching around the base has spared my trees from accidental lawnmower nicks and kept their roots moist during dry spells. Seeing those trees establish faster and grow stronger really drives home the mulch benefit.
What I Wish I’d Known Sooner: Troubleshooting Tips
- Mulch smells funny or molds? This usually happened when mulch was mounded too thick or stuffed against stems. I fixed it by loosening the mulch, spreading it thinner, and making sure air could circulate. Lesson learned: mulch needs to breathe.
- Plants drooping after mulching? When I first mulched dry plants, they sometimes wilted for a day or two. Turns out, fresh mulch can temporarily “seal” moisture in and stress thirsty plants. The fix? Deep watering right after mulching settled things quickly.
- Creepy crawlies in mulch? Bugs in mulch aren’t your enemy. They’re mostly decomposers doing the heavy lifting. I only intervene if I see damage to plants. Otherwise, I let them be—they’re part of a healthy garden ecosystem.
For more on soil health, check out this guide from the USDA.
Your Next Steps: Start Mulching Without Stress
If you’re feeling ready, pick up some bark mulch from a local nursery—often they have bags or bulk options. Clear a small bed or around a favorite plant, apply a 2-3 inch layer while keeping mulch 2 inches from stems, water everything well, and watch your garden start to smile.
In my experience, even imperfect mulching gets better with time. Don’t stress if it’s not perfect the first go—your garden will forgive and thrive. The more you do it, the more you’ll notice those little wins: soil that stays moist longer, fewer weeds, healthier plants, and a garden that feels like a sanctuary rather than a chore.
Give it a shot this weekend. The difference bark mulch makes might surprise you—and before long, your garden will feel like it’s got its own gentle guardian layer working beneath the surface. Trust me, it’s one of the best gardening habits you can adopt.