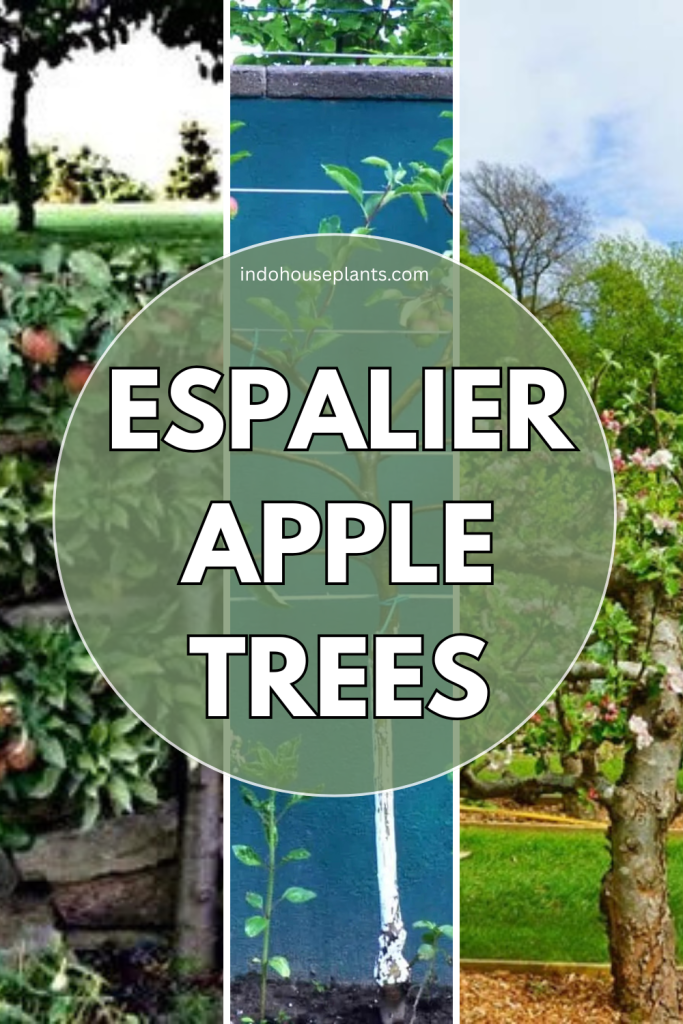
Why I Fell in Love with Apple Espalier Styling
When I first started, the idea of pruning and bending branches into neat shapes felt intimidating. I kept picturing snapping branches or hurting the tree, and honestly, that hesitation almost stopped me. But what I quickly learned is that espalier is more about gentle guidance than force. It’s training your tree like you might train a young dog—consistent, kind, and with a lot of praise (or in this case, careful pruning and tying).
Besides the obvious space-saving benefit, espalier helped me maximize sun exposure in a tricky spot against our garden fence where the sunlight was limited to the afternoon hours. By flattening my apple tree in horizontal tiers, every leaf and fruit got that golden afternoon glow, ripening faster and fuller than my old traditional apple tree.
The Real-World Setup That Worked for Me
Choose the Right Tree: I went with a young semi-dwarf ‘Jonagold’, which was forgiving and fast-growing. Tip: Dwarf or semi-dwarf varieties are easier to train because their branches are more flexible and they respond well to pruning without shock.
Location Matters More Than You Think: I planted mine less than a foot away from a south-facing brick wall, which heats up during the day and reflects warmth back on the branches—a little microclimate magic that helped fruit ripen even in a cooler climate.
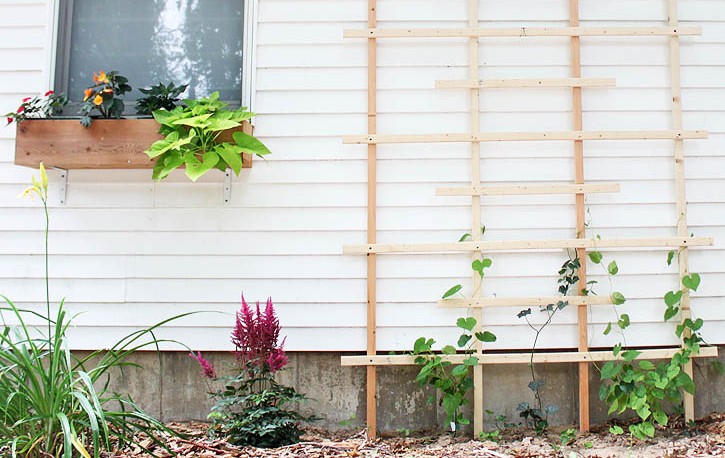
Building My Trellis: Instead of buying an expensive trellis, I constructed a DIY frame with cedar posts and stainless-steel garden wire spaced roughly 14 inches apart horizontally. What most guides don’t tell you is that the wire needs to be taut but not so tight that it damages the bark if branches rub against it. I learned the hard way when one tie bit into a branch—switching to wide strips of old cotton fabric for tying saved the day.
My Step-by-Step Espalier Journey (the First Year)
- Hard Pruning at Planting: I cut my newly planted tree’s main stem back to 28 inches tall to encourage strong side branches. It was scary giving a fresh sapling such a haircut, but it forced the tree to send out the kind of growth I needed.
- Training the Branches: Once the side branches grew, I identified two strong ones on opposite sides and gently taped them horizontally to the wires with the fabric strips. I’d loosen and adjust those ties every couple of weeks, allowing the wood to bulk up without constriction.
- Pruning Non-Conforming Shoots: Whenever a vertical shoot popped up and didn’t fit the ladder shape, I’d prune it immediately. This constant early-season attention helped the tree focus energy on the branches I wanted.
- Celebrating Progress: By the end of summer, I had my first two “tiers” neatly lined up. I think the thrill of seeing the tree start to take shape was more rewarding than the fruit itself.
Getting Creative with Shapes
I experimented by mixing in a slight fan shape on the higher branches, giving the espalier a dynamic but still orderly look that also improved airflow. The fan design gave me glimpses into what people don’t talk about enough: better air circulation reduces disease risk dramatically. Plus, with branches spaced out like fingers on a hand, it made harvesting feel like a treasure hunt—each cluster easier to find and pick.
Lessons Learned from Mistakes
- Branches snapped when I forced them too quickly. Solution: I started bending branches in small increments over two to three weeks, sometimes wrapping a branch in soft cloth overnight while it slowly adjusted to the curve.
- Overgrown shoots stole energy and blurred the pattern. I set a weekly reminder to prune, because a lapse of just a few days allowed unruly growth to start taking over.
- Ties digging into bark. Early on, I used plastic plant ties, but they cut into bark as branches thickened. Switching to flexible fabric strips and adjusting ties every 10 days made a huge difference.
- Tree stress showed as drooping leaves. I realized the tree needed supplemental water and a balanced fertilizer low in nitrogen. Too much nitrogen made it all leaves and no fruit, frustratingly.
Why Espalier Is Worth the Work
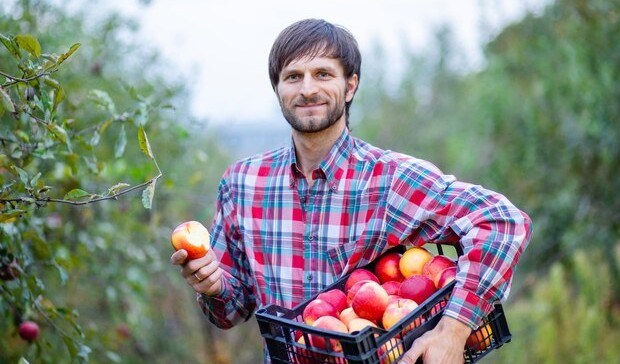
There’s something deeply satisfying about seeing those horizontal branches grow stronger and fuller year after year—like you’re sculpting living wood. Unlike a traditional tree, where much of the fruit is hidden or out of reach, espalier puts fruit right at eye level. I’ve found that it dramatically speeds up harvesting, making lazy fall weekends with a basket of sun-ripened apples an effortless pleasure.
Getting Started (My Personal Tips)
- Don’t overthink it: The first tie isn’t going to be perfect. Just start gently bending and tying branches even if they’re not straight at first. The tree grows, your skills improve.
- Use what you have: I repurposed old cotton sheets for ties and built my own trellis. Saving money and using recycled materials made the project feel eco-friendly and personal.
- Set reminders: Weekly visits to your espalier tree keep you proactive. Adjust ties, prune away rogue shoots, and enjoy the slow but definite progress.
For more on pruning techniques, check out this guide from the University of Minnesota Extension.
Final Thought
Espalier apple trees aren’t just for ornamental gardens or old-world estates—they’re a smart, beautiful way to turn a small patch of sunlit fence into a productive orchard feature. If you’re like me and love the idea of blending art and harvest, espalier is the kind of gardening challenge that pays dividends season after season. Don’t be afraid to get hands-on and experiment—the tree will communicate back through its growth, and before long, your efforts will be rewarded with both stunning form and crisp, juicy fruit.