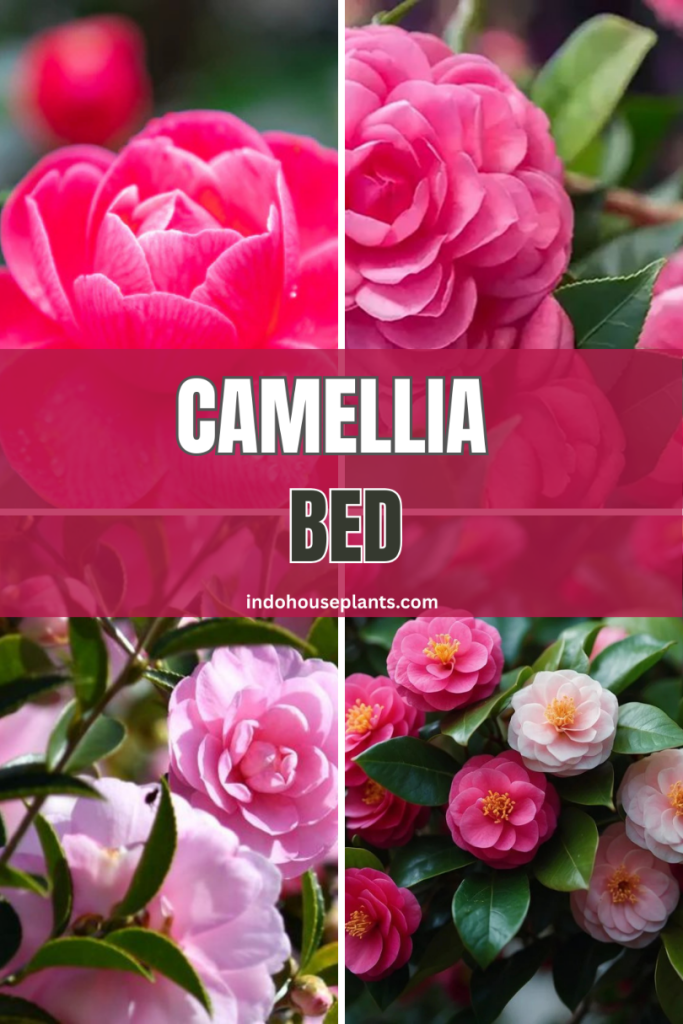
When I first decided to plant camellias, I quickly learned that these plants have a bit of an attitude—they’re not the kind of shrub you just toss anywhere in your garden and hope for the best. Setting up a dedicated camellia bed isn’t just a gardening trend; it’s the secret sauce that turns these finicky beauties into show-stopping blooms year after year.
What’s a Camellia Bed Really About?
Think of a camellia bed like creating a cozy little neighborhood tailored just for camellias. It’s a garden nook designed with their picky preferences in mind: the right soil acidity, the perfect amount of shade, and just enough moisture without sogginess. It’s not about saving space—it’s about saying, “Hey, camellias, this spot is just for you.”
Why bother? Because camellias thrive or struggle largely based on where and how you plant them. I’ve seen too many otherwise beautiful gardens where camellias ended up with yellowing leaves or never bloomed simply because they were living in the wrong conditions. Getting the bed right means fewer headaches and more flowers.
Why Camellias Deserve Their Own Bed
From my experience, camellias need:
- Well-drained, acidic soil: They hate sitting in water. The last thing you want is soggy roots leading to rot. Aim for a soil pH between 5.5 and 6.5. This range is a sweet spot where their roots absorb nutrients effortlessly.
- Partial shade: Full sun is like a sunburn for camellia leaves—they scorch easily. But deep shade means sad, shy flowers. What works best is dappled sunlight or a gentle morning sun with afternoon shade. I once tucked mine under a tall maple tree and it became a winter flower wonderland.
- Mulch that keeps acidity and moisture steady: The best mulch I’ve found is pine needles or shredded leaves. They slowly break down, feeding the soil and keeping the environment camellia-friendly.
Having a dedicated bed means you can dial in these conditions and watch your camellias bloom without stress.
How to Build a Camellia Bed That Works (My Tried-and-True Method)
- Scout the perfect spot: This is key. Look for an area that gets sun early in the day and shade when the sun is at its harshest. Northern-facing walls or the base of large deciduous trees can be perfect hideouts.
- Test your soil—and don’t skip this: I learned the hard way that guessing soil pH won’t cut it. Grab a soil test kit or send a sample to a local extension service. If your soil trends alkaline, don’t panic—amending can be as simple as mixing in peat moss or sprinkling sulfur.
- Improve drainage if needed: Sluggish drainage is a silent killer. If your soil feels like clay bricks, mix in compost or coarse sand. This creates air pockets so water drains through instead of pooling.
- Lay down the groundwork: Outline your bed—mine is usually at least 3 feet wide to give enough room for airflow. Loosen the soil about a foot deep, breaking up clods with a garden fork. Camellias like their roots to breathe.
- Add your mulch after planting: A 2-3 inch layer of pine needles or shredded leaves keeps the moisture and acidity just right. I refill my mulch each fall, and it makes a huge difference in camellia health.
- Plant with breathing room: Give each shrub at least 3 to 5 feet to grow. Crowding leads to poor air circulation, which invites pests and disease.
A Personal Story That Might Resonate
When I first planted camellias years ago, I put one under the wrong tree—an oak with a thick canopy that blocked too much light. It barely flowered, while another camellia in a bed I prepared with good acidic soil and morning sun rewarded me with gorgeous winter blooms. That’s when I realized: it’s not just about planting camellias; it’s about creating a home for them.
My neighbor Sarah shared a similar story. She lives in a temperate yard shadowed by oaks. After amending soil with peat moss and planting three camellias spaced well apart, her shrubs exploded into color for the first time after two winters. Now she tops the bed each fall with pine needles, and the blooms just keep coming.
Common Pitfalls You Can Dodge
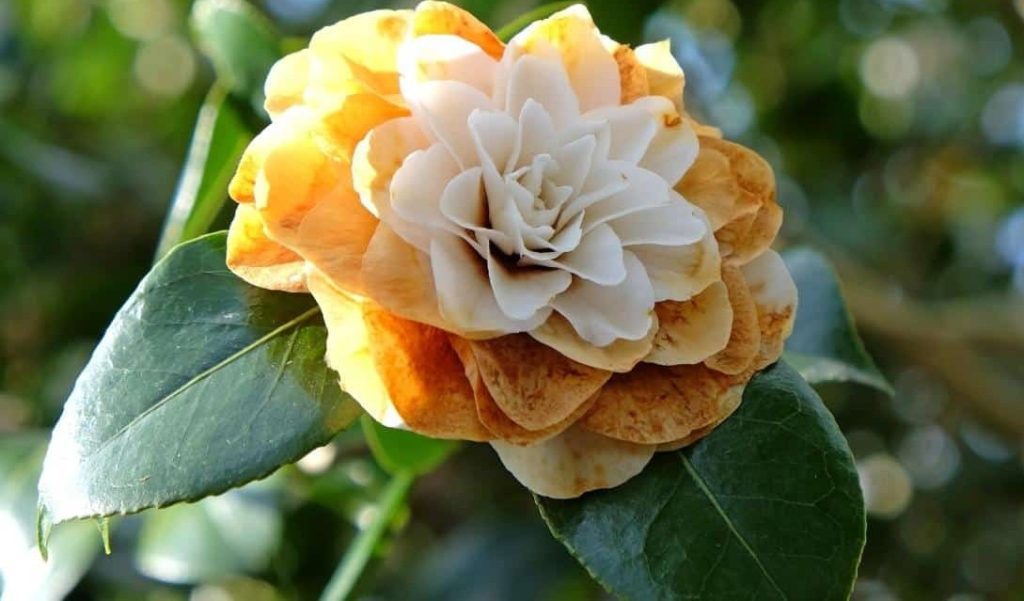
- Yellow leaves: Usually a sign the soil isn’t acidic enough or roots are waterlogged. Double-check your pH and make sure water isn’t pooling.
- No flowers: Either too much shade or insufficient nutrients. Camellias need that balance of light and enriched soil; feed them with a fertilizer for acid-loving plants in early spring.
- Pests like scale or aphids: Regularly check leaves. I like using neem oil or insecticidal soap to keep them at bay—an organic approach that works when caught early.
The Bottom Line: Creating Your Camellia Sanctuary
If you’re feeling overwhelmed, that’s totally normal. Camellias have a reputation, but trust me, getting these basics right is like unlocking their charm. It’s not about perfect soil or perfect shade—it’s about making a space that shows the plants you care, and they’ll thank you with waves of blooms.
What You Can Do Tomorrow
Before you even dig, walk around your garden during different times of the day to observe where the sun falls—there’s no substitute for firsthand observation. Then grab a soil pH kit; they’re cheap and straightforward. Start collecting mulch materials (pine needles are usually free if you have pine trees nearby), and sketch a rough layout for your bed. When you’re ready, follow the steps to prep, plant, and mulch.
And if you want to chat about specific camellia varieties that match your climate, or seasonal care tips, or even some unusual pest-fighting tricks I’ve picked up, just ask. There’s a little joy in camellia gardening that comes from sharing the journey. You’ve got this. The blooms are waiting.