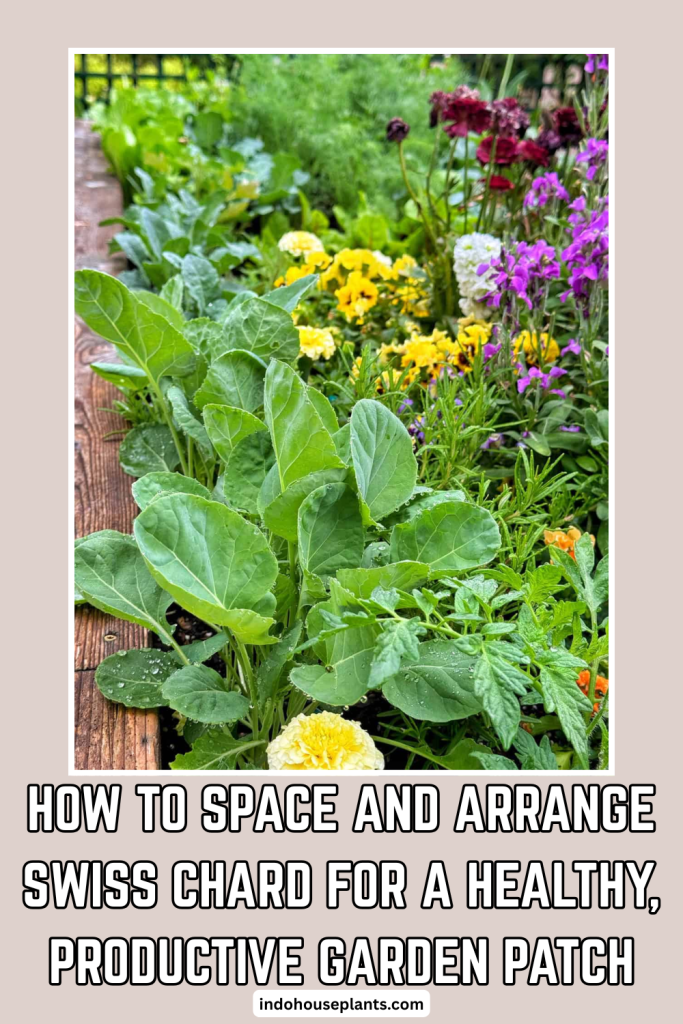
When I first started growing chard, I quickly realized that treating it like just another green in the garden wasn’t going to cut it. These plants are vigorous, leafy giants that demand a bit more respect in how you space and arrange them if you want to avoid a jungle—and frankly, a headache.
Here’s what most home gardeners don’t realize: chard thrives not just because of enough sun or water, but because of thoughtful airflow and room for each plant to stretch out. I learned this the hard way when my first chard patch turned into a damp thicket prone to mildew and slug attacks. After reworking the spacing principles, I ended up with a patch that practically took care of itself.
Reimagining Your Chard Patch Layout
Rows or Blocks? The Practical Choice
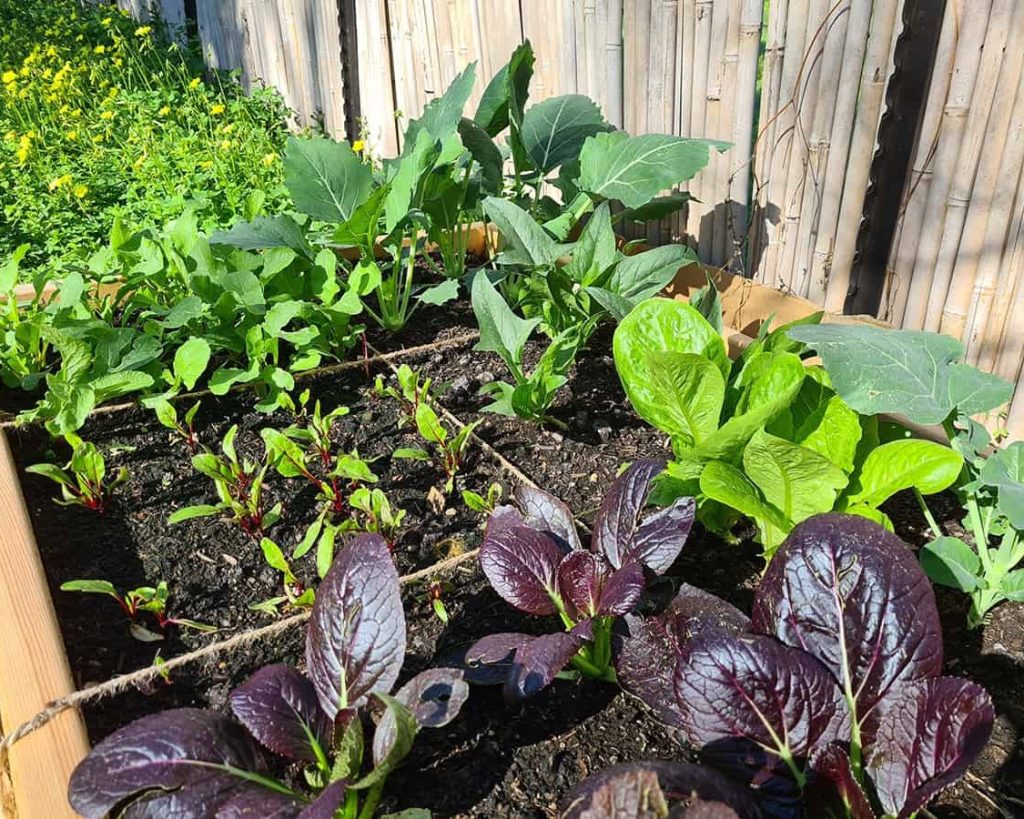
For beginners, rows remain the easiest to manage, especially if you want neat access for harvesting without knocking over your plants. When I harvest from my rows, I can get to each plant comfortably without brushing against the leaves too much, which helps reduce damage and disease spread.
But if your garden space is limited, blocks can be a lifesaver. You don’t have to carve out paths between every row. Instead, think of a dense but airy cluster—imagine a little chard colony where each plant has just enough breathing room, spaced in a tidy grid. This setup still allows for airflow but packs more plants into a smaller footprint. I use this arrangement in my raised beds when I want bulk greens fast.
Spacing That Actually Works
Forget arbitrary numbers—you want to think about how big those leaves get. Some chard varieties can easily span 12 to 18 inches wide once mature. When I overcrowded them, I noticed leaf edges curling and yellowing—classic signs of stress and poor airflow.
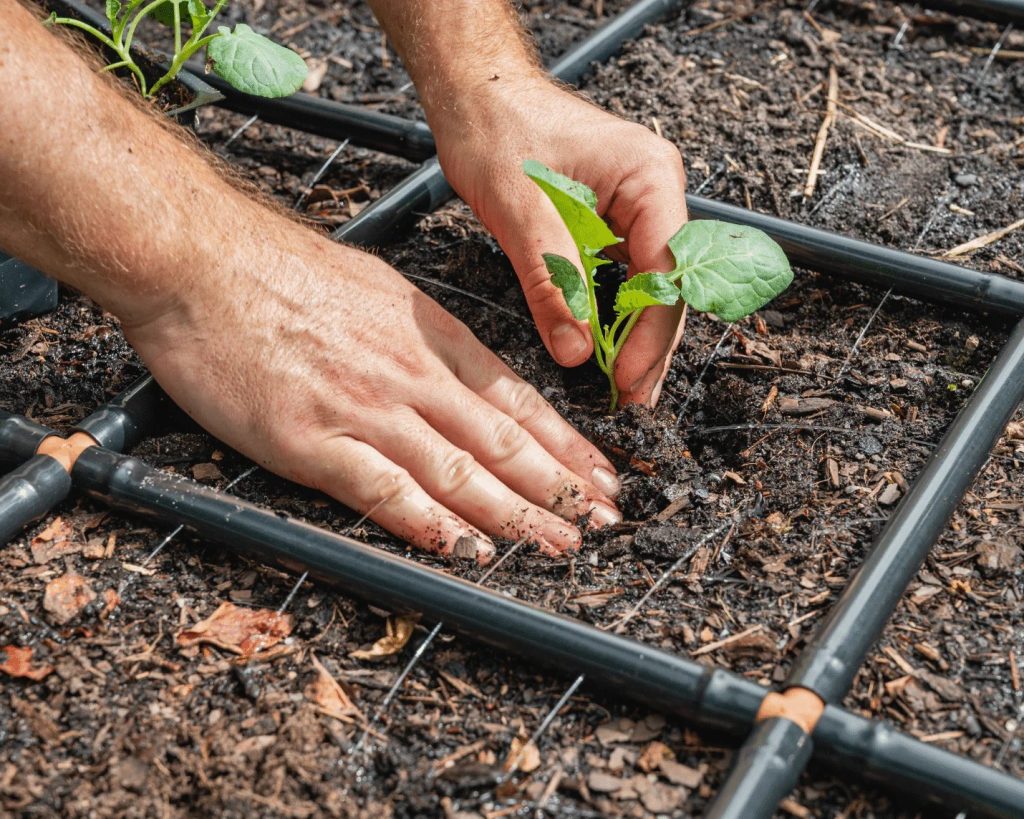
Now, I space seedlings about 3-4 inches apart when sowing, just enough so they don’t compete during germination. Then, when they develop their first couple of true leaves (usually 2–3 weeks), I thin them to one strong plant every 12 inches. This approach lets each plant flex its leafy muscles fully.
Putting It Into Practice: Real-World Patch Plans
Classic Row Setup
- Example: A 4’x6’ patch.
- Method: Mark 4 rows spaced 1 foot apart. Plant seeds every 4 inches. After thinning, you’ll have about 6 healthy plants per row (24 total).
- Result: A steady supply of greens for summer salads and sautés.
Block Planting in a Raised Bed
- Example: A 3’x3’ raised bed.
- Method: Sow seeds every 3 inches, then thin to a 12-inch grid.
- Result: 9 neatly spaced chard plants that maximize growing area without sacrificing airflow.
Companion Planting Insights That Made a Difference for Me
Chard loves its neighbors if chosen wisely. I’ve had great success pairing it with onions and carrots because they draw nutrients differently and don’t compete fiercely. Plus, carrots use vertical space below ground, complementing chard’s leafy spread.
Avoid planting chard near potatoes or corn—they steal nutrients and attract pests. To deter leaf miners, I plant marigolds nearby, which naturally repel them.
Troubleshooting From Experience
Too Crowded Seedlings
- Problem: Yanking seedlings disturbs roots.
- Fix: Gently snip excess seedlings at soil level with scissors.
Moisture and Mildew
- Problem: Powdery mildew from poor airflow.
- Fix: Prune largest leaves mid-season to boost airflow.
Pests
- Problem: Leaf miners and slugs.
- Fix: Handpick pests, plant garlic or nasturtiums, and keep the area weed-free.
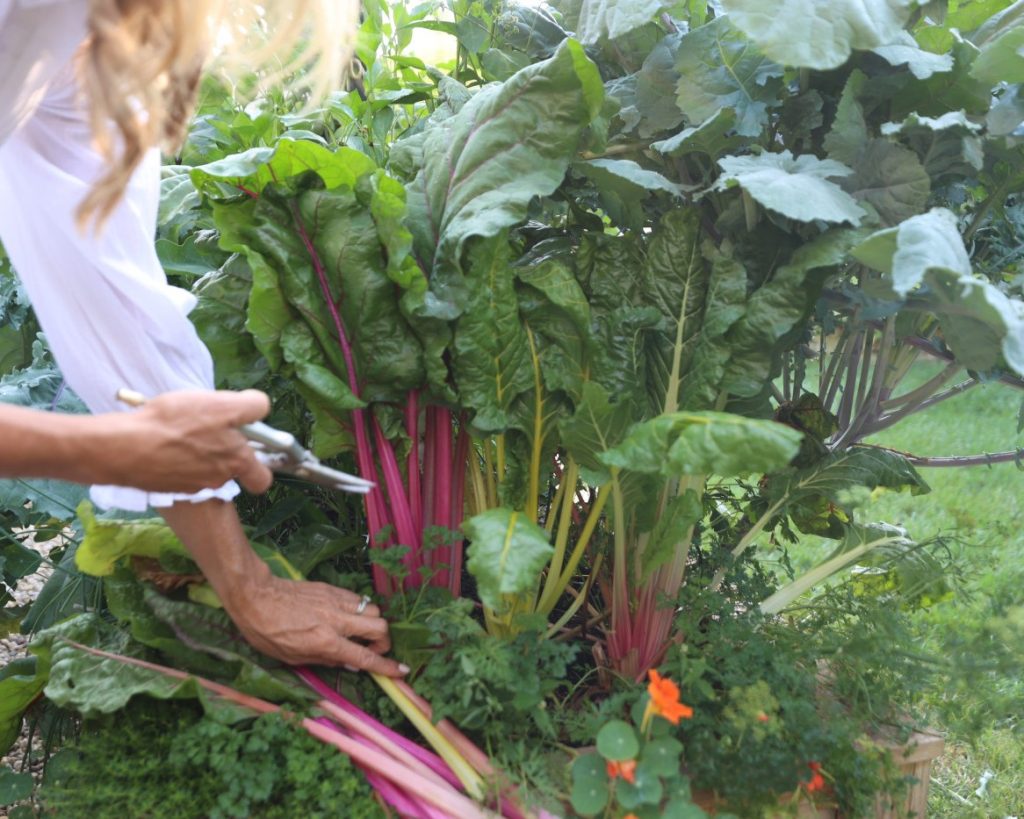
Why This Setup Works—and Why You’ll Love It
The goal isn’t just to cram as many plants as possible but to create a space where each one is happy, healthy, and productive. The right spacing saves you from disease battles and endless thinning. Plus, harvesting becomes a satisfying ritual instead of a frustrating chore.
Getting Started — Simple Steps That Don’t Overwhelm
- Prep your soil: Loosen the ground and mix in compost.
- Mark rows or grids: Use sticks and string for accuracy.
- Sow smart: Plant seeds ½ inch deep, every 3-4 inches.
- Label everything: Popsicle sticks prevent confusion later.
- Water gently: Aim for 1 inch per week.
- Thin by snipping: Remove extras at soil level—no tugging.
Stick with these steps, and soon your chard patch will be lush, easy to maintain, and a steady source of fresh greens.