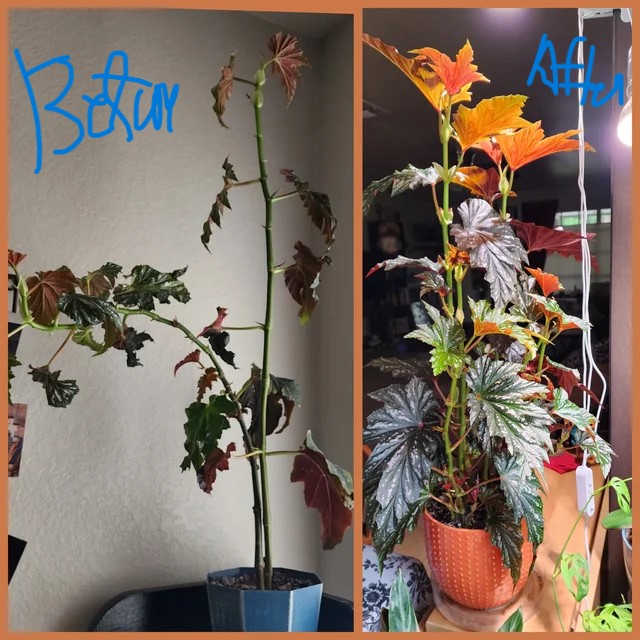
Spotted a yellow leaf and now you’re staring at it like it just insulted your cooking? Trust me—this is one of those plant parent rites of passage. After twenty years and more than one leafy drama (including the infamous “Fernpocalypse of 2011”—don’t ask), I’ve learned yellowing leaves might look dramatic, but they’re really just a message in code.
Let me break this down, step by step, and share some hard-won secrets most people don’t talk about.
Step 1: The Unfiltered Soil Truth
Forget fancy gadgets—for most cases, your best moisture meter is right at the tip of your finger. Don’t be shy—plunge an inch or two into the soil near the roots (not just at the edge). Early on, I made the rookie mistake of tapping the top layer only; what I didn’t realize was that my pothos’s roots were swimming deep below while everything looked fine up top.
Feel for:
- Sticky/cool: It’s wet. Odds are good you’ve overwatered OR not enough light is helping that water evaporate.
- Dry/dusty, crumbles away: The opposite problem—your plant’s been left high and dry.
What most people don’t realize: If your planter sits inside another decorative pot (especially ones with no drainage—I’m looking at you, stylish ceramic cachepots), water can sneakily pool at the bottom.
Sometimes when I pull my pots out, there’s an actual puddle hiding underneath! If you catch this soggy basement, tilt out that extra water and leave things uncovered for a day or two—it makes a huge difference.
Step 2: Understanding Light Like a Pro
Here’s what textbooks won’t tell you: plant labels LOVE to say “low light,” but in my experience—even “shade-loving” species want ambient brightness to thrive. Think of it this way: Imagine reading a book with sunglasses on versus under full sun—there’s a comfortable middle ground.
For years I rotated my monstera weekly… but then a botanist friend dropped this gem: plants will actually lean towards their favorite light source every 3–5 days. Now I nudge mine in mini-increments (about an eighth-turn every few days) instead of doing big rotations once a week—the growth is much more balanced.
“Burned” leaves with crisp yellow edges? That’s usually direct sun scorch, especially through southern or western windows in summer. But if new growth looks stretched-out (“leggy”) and pale—even if you think there’s enough light—the spot probably isn’t bright enough for healthy chlorophyll production.
Pro tip: On dingy winter days or windowless offices, LED grow lights can bail you out. You don’t need to spend $100+—even $15 clip-ons do wonders.
Step 3: Nutrition Isn’t Just Fertilizer
In the early days, I used to dump fertilizer every time something looked off—a classic beginner misstep! Here’s what most blogs won’t tell you: overfeeding can cause chemical burns leading to—you guessed it—more yellowing. Especially if salts build up in your soil (you might even see white crusts at the surface).
I swear by using half-strength liquid houseplant food every 5–6 weeks from March to September (unless new growth stalls). Rinse out old salt buildup by watering until liquid runs freely from drainage holes about once per season. Major improvement!
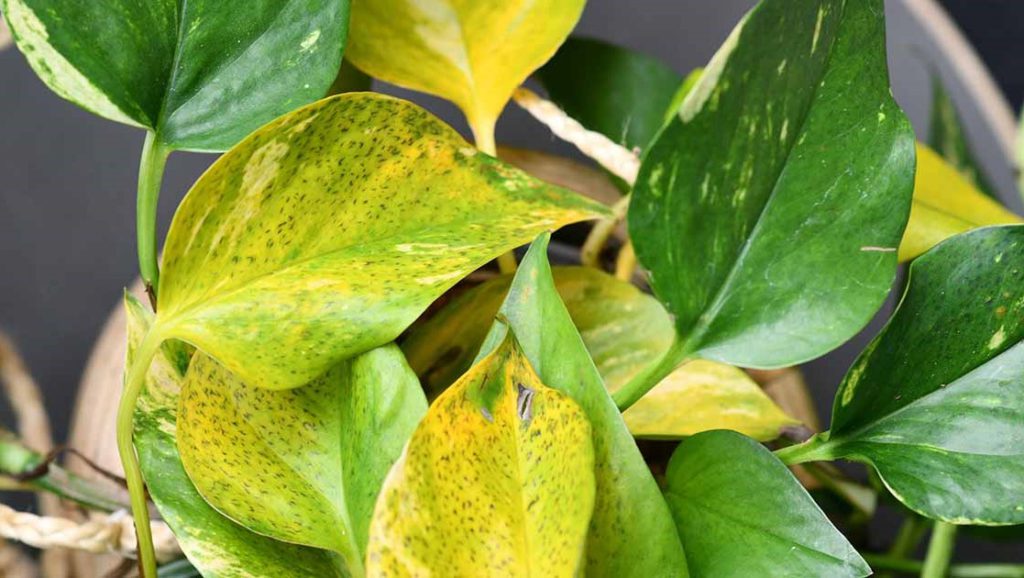
Also worth noting: Yellowing starting from oldest leaves typically means nitrogen is low; yellow blotches on newer leaves may point to micronutrient deficiencies (like iron or magnesium).
Insider Scenarios & Fails
Let me make this less abstract:
- My own spider plant once dropped half its foliage after moving it above an old radiator during winter—it wasn’t temperature so much as ultra-dry air sucking moisture from the leaves overnight!
- Katie (my neighbor) called me after her dracaena went lemon-yellow en masse. We tugged off the plastic nursery pot hidden inside her pretty cover… and found three inches of standing water below! She thought she was underwatering because only the top inch dried quickly.
- Another confession: My biggest calathea comeback happened after switching from tap water (hard as nails here) to distilled—I didn’t know fluoride sensitivity could make entire leaf patterns bleach out until it happened in front of me.
Here’s what most people don’t know: Almost every “yellow leaf panic” involves at least TWO overlapping issues—a bit too much water and weak winter sunlight seems especially common!
Troubleshooting Deep Dive
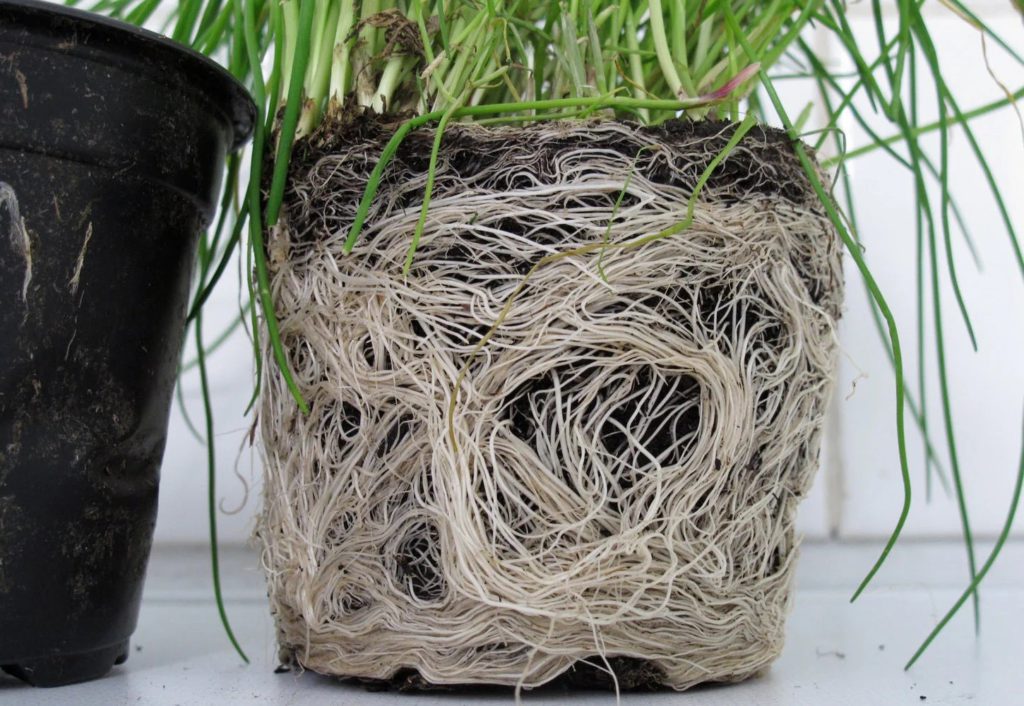
Ever checked inside your pot during repotting and found dense roots circling themselves like tangled spaghetti? That rootbound condition chokes off both nutrients and oxygen—plants practically suffocate themselves! Repotting into a container just one size up gives roots space without shocking them—which is why sizing up slowly always gave me healthier regrowth.
When dealing with pests (yes, even seasoned folks miss these!), place a white sheet under your plant and tap gently—you’ll often spot elusive bugs falling like snowflakes before noticing webs or sticky goo.
Temperature swings? One December night my prayer plant shriveled alarmingly; turns out heat from nearby radiators shot up overnight while outside temps plummeted—that YOYO effect literally fries foliage cells at night then dehydrates them by day.
Water quality? In older apartments where pipes are lined with who-knows-what, pouring cold tap water straight onto sensitive species turned young shoots sickly yellow within weeks. Try leaving water overnight so chlorine dissipates—or use filtered for trickier types like marantas and calatheas.
Encouragement From Years In The Trenches
Plants letting go of lower leaves is totally normal—a sign they’re focusing energy upward rather than struggling with what isn’t working anymore. Some folks obsess over every single mark; I say step back and look for healthy new growth instead!
Last spring I nearly trashed an anthurium after five leaves browned—but three months later we had new glossy blooms everywhere because patience paid off.
If nothing shifts after addressing these main points—or yellowing spreads fast regardless—you can always snip off one affected leaf and bring it to your local garden center or upload it onto community sites like the r/houseplants community on Reddit; sometimes diagnosis needs both photos AND stories behind them!
Action Plan – Let’s Set You Up For Success
- Deep check: Finger-test all around—not just one spot—to rule out hidden sogginess beneath dry tops.
- Light audit: Snap a photo at noon; does natural light brighten most of your room, or just tiny corners? Adjust accordingly.
- Trim wisely: Sterilized scissors mean no infection risk when pruning spent/yellow leaves.
- Water test: Use rainwater/filtered/distilled if you keep seeing problems despite textbook care.
- Routine reminders: Mark down last watering/fertilizing dates somewhere visible—I use sticky notes on shelves!
- Tech assist: Free apps like PlantNet or Seek by iNaturalist give surprisingly accurate ID help based on one photo.
- Still stuck? Reach out—seriously, no question is silly here! Community support online changed everything for me early on.
Every yellow leaf tells part of your gardening story—it means you’re paying attention and learning fast! Remember, even celebrated botanists get stumped sometimes (I still cringe thinking about that moldy ficus phase circa 2014). Plants forgive generously with time—and so should we as their caretakers.
You don’t have to have all the answers today—just curiosity and willingness to experiment along with them!