I can’t tell you how many new plant owners I’ve met who get tangled up in advice that sounds more like a biology lecture than a simple start. So let me break this down honestly, from someone who’s managed to keep plants alive (and yes, accidentally murdered a few along the way).
Step 1: Forget Everything Fancy—Just Start Simple
Here’s what most people don’t know: even veteran gardeners lose plants. The trick isn’t perfection—it’s picking greenery that won’t hold grudges.
Think of it this way: most plant “care instructions” are written for show plants and Instagram posts, not for real life. You’ll see guides talking about humidity levels to the decimal and fertilizers with ancient Latin names…but back when I lived in a drafty city studio with nothing but hand-me-down furniture and an awkward east-facing window, my snake plant shrugged off every mistake.
My Go-To Survivors
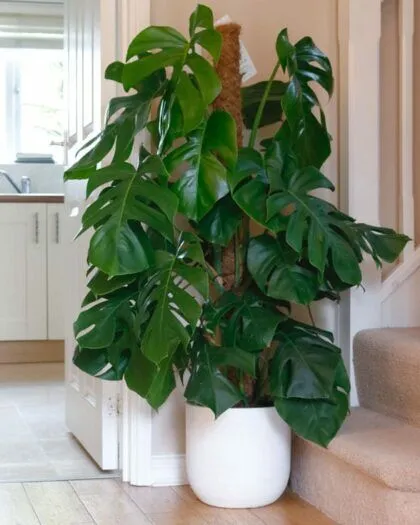
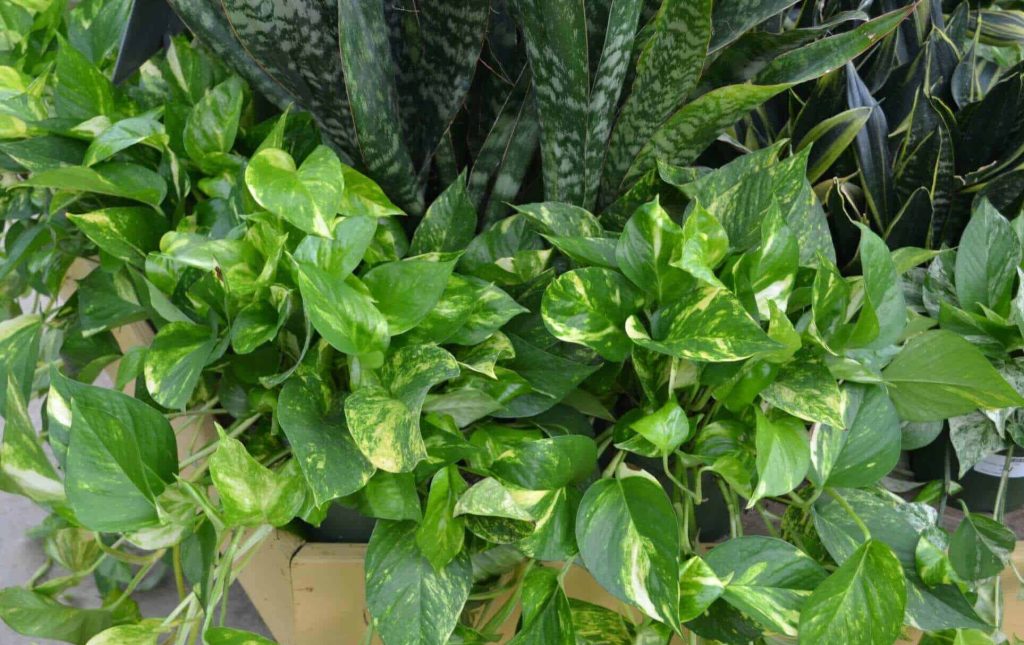
- Snake Plant: You can almost ignore this one entirely; mine’s survived months of vacation-abandonment without so much as complaining. One winter, after an ice storm knocked out my building’s heat, my snake plant just kept growing. No drama.
- Pothos: Trails like nobody’s business, even if you forget it for days (or weeks). Once, I watched mine rebound from honest neglect by just chopping off the dead bits—I swear it grew back twice as full.
- ZZ Plant: If you can remember to water once a month (I set a phone alarm), you’re golden. A friend named hers “Zelda” and swears it’s the only thing in her place more resilient than she is.
Step by step: Get any of these at your corner nursery or big-box store—they’re almost always available because they’re nearly impossible to fail with.
Step 2: Observation Over Complication
Here’s something industry experts rarely admit—spotting light levels doesn’t require fancy apps or expensive gadgets.
Stand where you want your future plant and check midday:
- Can you comfortably read without turning on a lamp? That means enough light for these hardy buddies.
- If your palm casts a shadow but no sunlight actually touches the spot? Perfect!
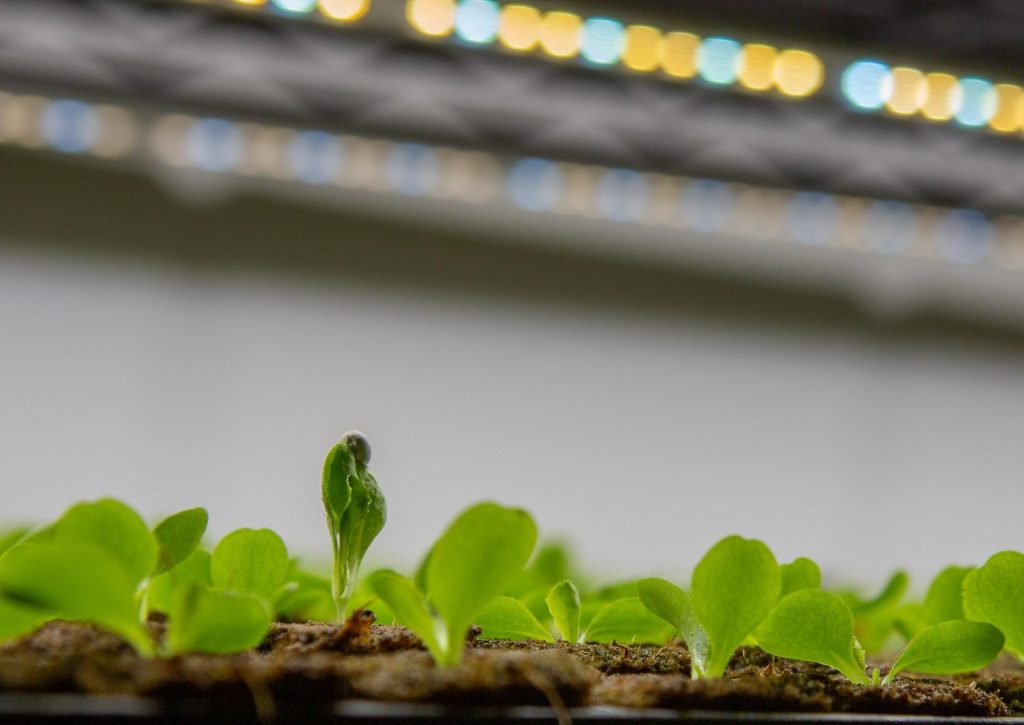
Confession time—I’ve put ZZ plants miles from windows (think: bookshelf behind a heavy curtain). They might grow slow there, but they will survive. Want them speedier? An $8 clip-on LED grow bulb from Amazon works miracles—I added one last winter and watched everything sprout new leaves in February.
Step 3: Skip Schedules—Spot-Check Instead
I rolled my eyes at “water every X days” calendars until I realized why every single expert says something different: they’re guessing! Every room is different.
What never fails?
- Poke your finger into the soil about an inch deep.
- If it feels dry and crumbly—now it gets water.
- Still damp or cool? Wait two days and check again.
True story: On my third attempt at pothos parenting, I only watered when I remembered during lazy Sunday breakfasts—and that was enough. In fact, over-watering killed more of my early plants than anything else (“drowned with love,” as my sister jokes).
Pro tip: It’s better to underwater than overdo it with these varieties—their roots hate soggy feet!
Step 4: Real Spaces, Real Stories
- Emily—a teacher whose kitchen faces a brick wall (“sunlight optional”). She tucked her pothos above her fridge because that was literally her only free surface. Once every two weeks when she cleaned out leftovers, she’d tilt its pot over the sink for a quick splash of water…that vine now drapes halfway down the cabinet.
- Rajiv—my neighbor who works tech support nights and sleeps odd hours. He lined up three snake plants along his TV stand (the darkest part of his living room), sometimes forgetting them for weekends at his girlfriend’s place. Those three look identical today as two years ago—maybe slightly taller.
Personally? My first ZZ plant survived after four months inside an office cubicle under fluorescent lights…next to an HVAC vent! When we all worked from home in 2020? That plant came too—and didn’t flinch at all the change.
Step by step: Your space doesn’t have to be perfect—they just need one reasonable spot where YOU notice them occasionally.
Step 5: Troubleshooting Without Guilt
- Yellow leaves always worry newbies—you imagine root rot or some irreversible mistake. Think of them instead as gentle reminders (“Ease up on watering!”).
- Droopy leaves usually mean “Time for water,” but check first—it could also be they got chilly near last weekend’s open window!
- Dust buildup is another overlooked issue. Gently wipe broad leaves with a damp cloth; bonus points if you turn on music while you do it (I find my peace playlist helps those stubborn hard-water spots slide right off).
If you’re stumped: A quick Google image search with your plant’s name brings up tons of side-by-side comparisons (“snake plant wrinkly leaf” saved me once).
Step 6: Trust Yourself & Enjoy Experiments
It took me several half-dead attempts before figuring out each type’s “sweet spot.” And frankly—even the best plant parents drop the ball sometimes! Think of houseplants as forgiving roommates rather than high-maintenance pets.
One overlooked trick? Rotating pots every month or so if they’re by windows—keeps growth even (and scratches that rearranging itch on rainy afternoons).
If something dies… shrug That means you’re learning what works in YOUR space—which matters way more than random Instagram tips or nursery labels ever did.
Quickstart Recap
- Grab one easy-care plant (snake/sansevieria or pothos are unbeatable).
- Plop it wherever you notice most often—not necessarily exactly by a window.
- Check soil dryness before watering.
- Make adjustments—not apologies!
- Brag about new leaves; grieve fallen ones briefly then try again.
Ask questions at local nurseries or DM folks showing similar setups online—you might get tips even seasoned experts overlook (“Try terracotta pots instead of plastic”; “Don’t fertilize until year two”).
Most important lesson: Simple beats fancy every time. You’ll pick up little quirks specific to YOUR home as you go…and that’s where confidence blooms fastest.