Propagation Stations: The Practical, Honest Guide
If you’re picturing rows of Pinterest-perfect glass test tubes mounted on a walnut board, take a breath—you don’t need any of that to start propagating plants at home. A real propagation station is just a fancy name for “a spot to put your cuttings where you won’t forget them.” And in my experience? The best setups are usually cobbled together from stuff already in your kitchen cabinets.
Let’s get straight to it:
What Is a Propagation Station, Really?
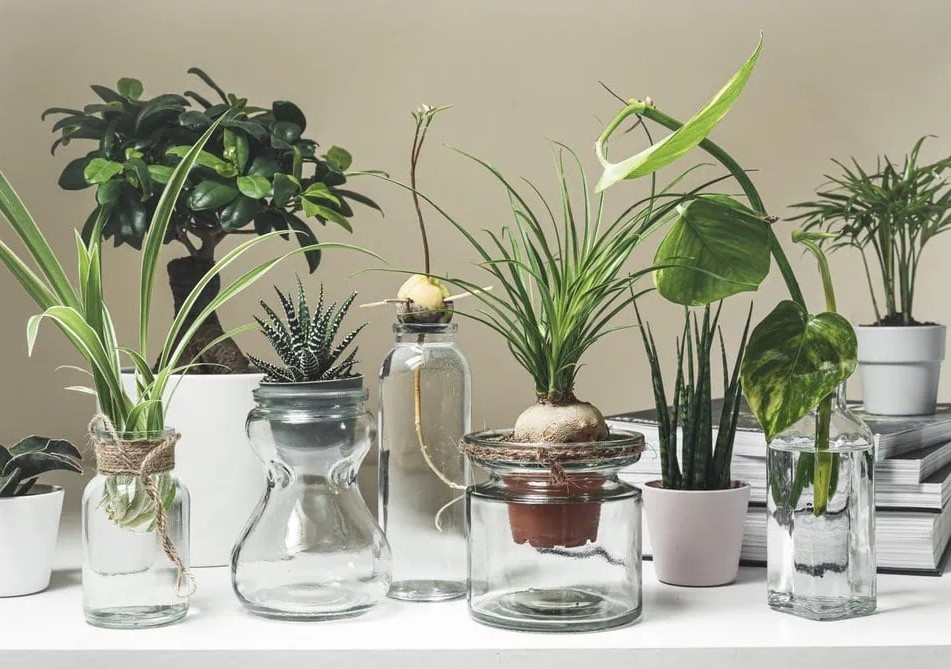
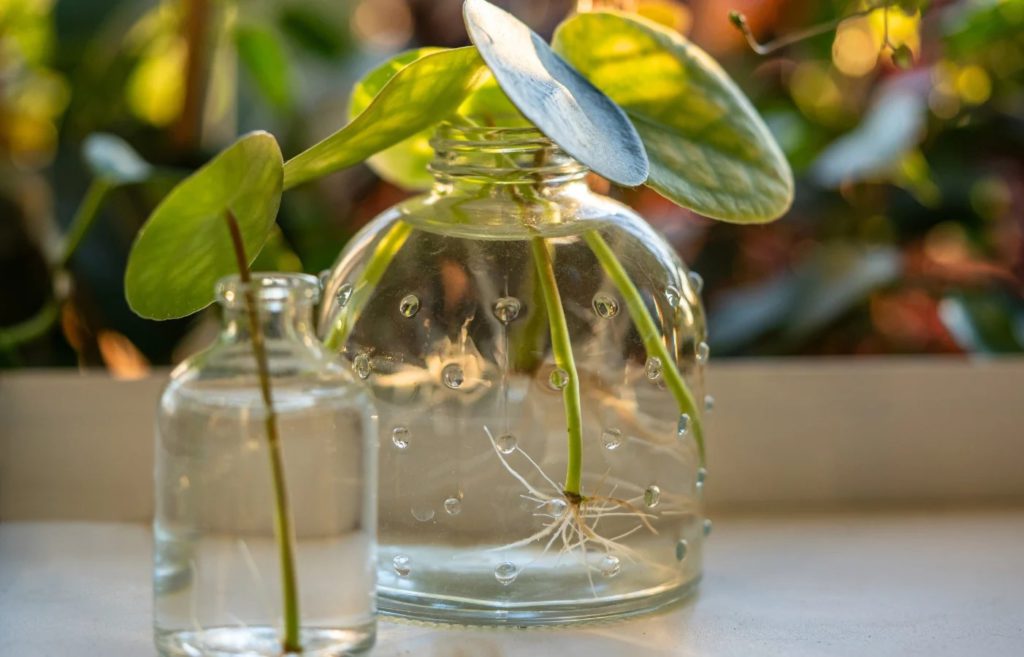
Short answer: It’s any container (or cluster of containers) where plant cuttings can grow roots before being potted up. You do not need special gear. An old salsa jar, a clear Tupperware, even mismatched shot glasses all get the job done.
My first “station” was literally coffee mugs lined up on the windowsill with water and basil stems.
If it holds water and lets you see what’s happening—congratulations, you have a propagation station.
Why Try This? A Quick Reality Check
- New plants for free—because honestly, why buy more pothos when you can multiply the one you’ve got?
- It’s ridiculously satisfying—even after years, I still peek under leaves every morning hoping for that first fuzzy root.
- Great for beginners: Mistakes are cheap, and every failed attempt is just another science experiment.
And if your “station” looks more like clutter than décor? Join the club. No one shows their propagation fails on Instagram but trust me—they happen.
The Bare-Minimum Steps (With Zero Jargon)
1. Pick Your Cutting:
Go for houseplants that actually want to root in water! Easiest wins: pothos (Epipremnum), monstera, tradescantia (wandering dude), philodendron, mint. If this is your first try, avoid succulents or cacti—they like soil better and will sulk in water.
2. Use Clean Tools:
Dirty scissors = sad rotting stems. Swipe blades with rubbing alcohol or give them a wash with soap and very hot water.
3. Find the Node:
Roots sprout from nodes—it’s that bump where leaves or roots come out of the stem. Cut about half an inch below one.
4. Remove Extra Leaves:
Any leaf sitting underwater will turn mushy and gunky—peel those off before dunking.
5. Give It Water & Light:
Fill your chosen jar halfway with tap water (room temp is fine). Place your cutting so just the node is underwater. Set it somewhere bright but not baking hot—think east window, desk lamp, or even under kitchen fluorescents (my quickest rooting ever was next to my toaster).
6. Change Water Regularly:
Every 3–4 days is ideal; I’ll be honest—I sometimes forget until things look cloudy or smell funky (oops). Setting a phone reminder helps if you’re as absent-minded as me.
That’s literally all you have to do.
What Actually Works Best? My Honest Favorites
- Best beginner plants: Pothos, philodendron heartleaf, tradescantia zebrina (“wandering dude”), spider plant babies, mint.
- Easiest containers: Clear spice jars from pasta sauce; empty vitamin bottles; small mason jars; even test tubes balanced in an egg carton.
- Cheap stake hack: Chopsticks! Or paperclips bent into tiny stands.
- Avoid: Trying to propagate snake plants in just water—they stubbornly refuse me almost every time (but others swear by it… maybe they’re magic?).
Real-Life Mistakes I Still Make
- Once left basil cuttings in full sun and came back at lunch to find limp green noodles sagging over the rim—lesson learned: indirect light is everything.
- Used a cup that was too wide and found all my cuttings laying flat inside—not ideal for rooting OR morale.
- Tried rooting rosemary in plain water only to watch it go black overnight; turns out it’s way pickier than pothos.
You will make mistakes—and that’s totally normal! Honestly? Sometimes I think failed attempts teach more than successes do.

Fast Troubleshooting
- Funky Smell/Cloudy Water? Dump it out and refill with fresh tap water—don’t panic if roots look good underneath!
- Brown/Black Stem Bottoms? Too much stem or too many leaves under water—trim back above healthy tissue and try again.
- No Roots After 2 Weeks? Some plants take their sweet time—or might just not be compatible with water propagation (succulents=divas here). Try another species or move cuttings closer to light.
For more detailed troubleshooting, the ASPCA has a great guide on toxic and non-toxic plants which is helpful if you have pets.
How To Build Your Confidence (And Mini-Jungle)
Feeling nervous? That’s normal. Nobody starts out knowing exactly what they’re doing with plants—I’ve turned many hopeful cuttings into compost fodder and still keep trying new experiments each year.
Here’s my “just start” checklist:
- Grab any clean glass or jar
- Snip a healthy cutting (look for green stems that aren’t flowering)
- Place so node sits underwater
- Set container somewhere you’ll see every day
- Change the water when you remember—or set an alert!
- Celebrate every tiny root as if you invented botany
I guarantee seeing that baby root wind down through clear glass feels like winning the lottery (without spending anything).
And if something goes wrong? Shoot me a question (“My pothos turned yellow!” = classic). Every expert gardener started out lost at least once—and probably has way more failed jars than they admit!
So dig around your recycling bin tonight—you might end up surprising yourself by next week with brand new greenery growing right beside your books or breakfast toast.
Ready when you are!