Let me break this down because there’s a stubborn myth I want to bust: most DIY plant shelf advice tells you to play it by the book—brackets, pine boards, studs, done. But here’s what most people don’t know: that “assembly line” approach gets you the fastest result, but not always the best one for either your space or your plants.
Sometimes, going a little off-script is exactly what’ll get you excited about building—and keep your ferns from toppling into your coffee mug.
Think of it this way: Your walls, like your plant collection, probably don’t fit some Step 1-2-3 YouTube tutorial. And you definitely don’t need expensive tools or ultra-precise measurements to end up with shelves that make both sense and statement.
Why I Ditched Store-Bought Shelving (And You Should Too)
Early on—back in 2019 during my “new apartment, new life” phase—I bought those standard pine boards and L-brackets everyone raves about. Simple? Yes. But after living with them for six months, I realized two things:
- Pine boards warp if you put them close to a humid window (especially in older homes like mine).
- Brackets installed in drywall—even with anchors—never felt all that sturdy once my shelf turned into a jungle.
No question is silly here: why stick to pine when old hardwood shelves from thrift stores exist? Or why only use wall brackets when tension rods can work for narrow places?
So let’s get hands-on with options that actually suit different spaces and needs—even if they’re not the standard advice you’ll find online.
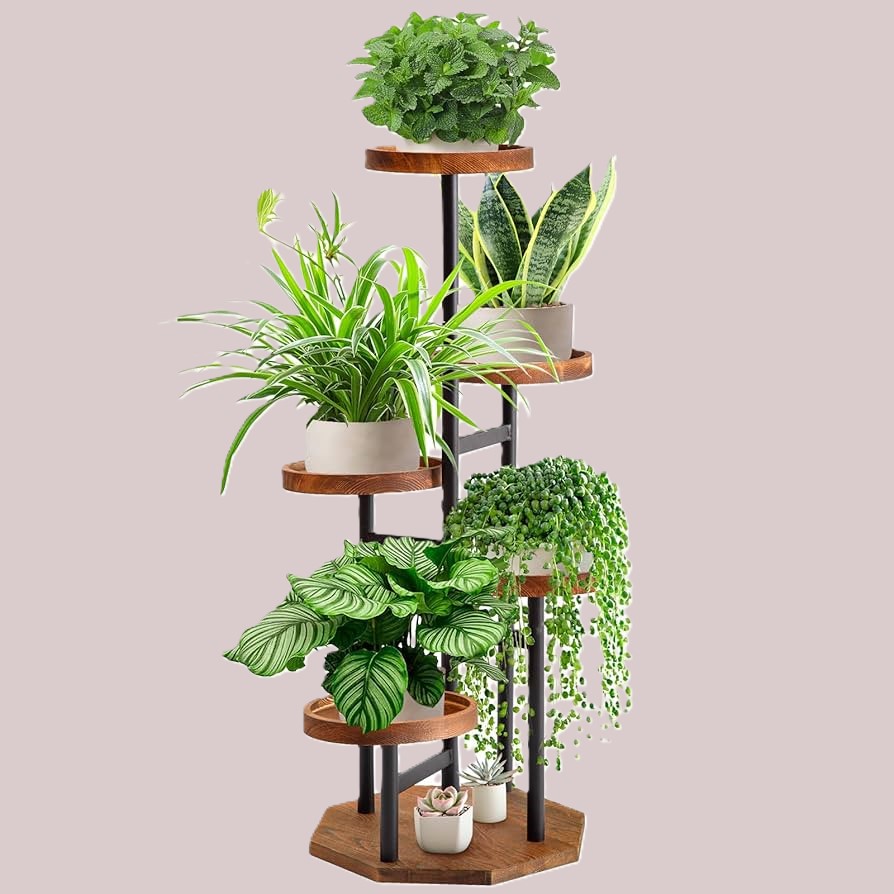
Contrarian Solutions for DIY Plant Shelves
The Window Suspension Trick
Most guides skip this—but if light is prime real estate at your place (tiny window ledges, anyone?), why not suspend a shelf right IN FRONT of your sunniest window instead of next to it?

What You Need:
- Two tension rods (look in the curtain aisle for sturdy ones; $10–15 apiece)
- Board cut to size (hardwood or reclaimed wood holds up better)
- Strong twine or paracord
How It Works:
- Install tension rods at the top and bottom of your window frame.
- Tie cord from each rod corner down to support the board.
- Rest your shelf on these slings—zero drilling, easy removal.
I tried this above my kitchen sink—powerful morning light, no hardware required—and it fast-tracked my basil’s growth by two weeks compared to its countertop sibling!
The “Stacked Crates” Solution—For Perpetual Renters
Sick of filling holes in rental walls? Here’s what most folks overlook: stacked wooden crates (the kind wine comes in) make instant shelving—no screws necessary.
- Stand crates upright or lay them flat for wider pots.
- Score them at yard sales for under $5 each.
- Bonus: crates mean hidden storage for potting supplies!
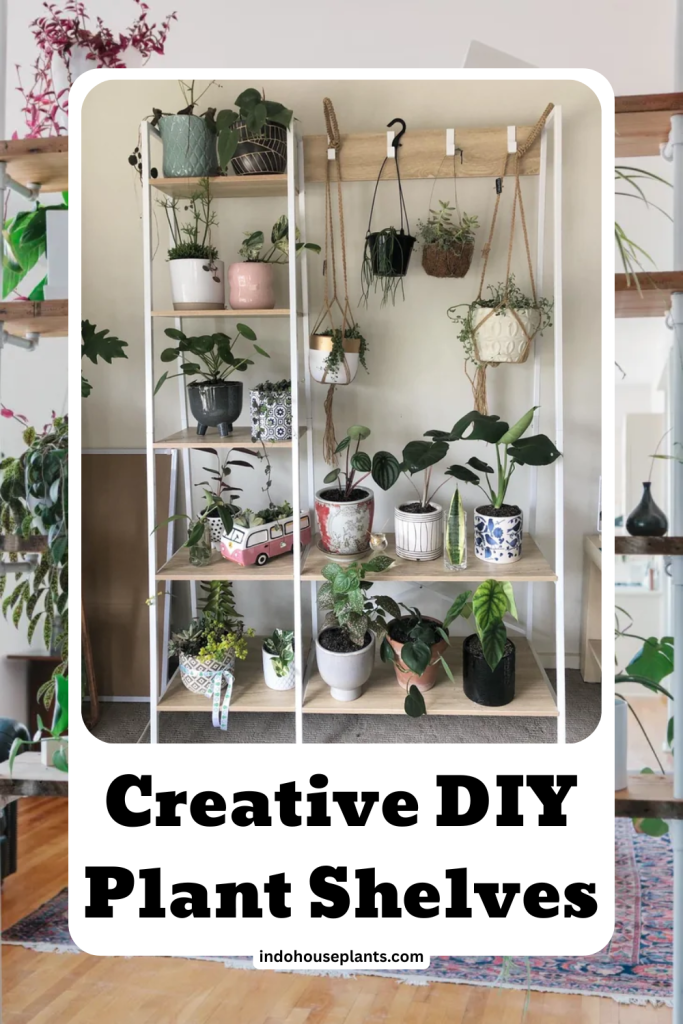
Repurpose Everything: Bookshelves & Step Ladders
Confession: I once used an old step ladder as shelving, spray-painted it moss green, and set pothos on every step. Not only did it add personality—I could move it anytime.
Pro tip: Those clear acrylic shoe racks? Ideal for small plants under grow lights!
Common Pitfalls—and How To Break the Rules Safely
- Myth: “Always drill into studs!”
Reality: Use adhesive hooks rated >10 lbs + lightweight birch plywood for rentals. - Myth: “More brackets = more stability.”
Reality: Upgrade materials—IKEA beech cutting boards resist moisture better than pine. - Myth: “Finish shelves before installing.”
Reality: Install first, touch up later if you’re impatient (like me!).
Final Thoughts: Plant Shelves Should Fit YOU
Building plant shelves isn’t about perfection. It’s about functionality that fits your life—weird windowsills, sloping floors, and all.
Start small:
- Reclaim a corner with crates or ladders.
- Try a tension rod window setup.
- Scavenge thrift stores for unique boards.
Happy building—and send photos of your oddball wins!