When I first started caring for crape myrtles, I quickly learned that how you prune these beauties makes all the difference between a tangled mess and a graceful, flourishing specimen. It’s not just about hacking off branches—it’s an art of coaxing out their best shape and bloom potential.
Over several seasons, I’ve developed a more intuitive approach that’s helped my trees thrive, and I love sharing these tips because styling crape myrtles can genuinely become a satisfying ritual, not a chore.
Why Late Winter Is Non-Negotiable (and What Most People Don’t Realize)
Most folks say “prune in late winter” and leave it at that, but here’s something you might not know: pruning just as the tree is still dormant means you’re working with a plant that isn’t rushing to heal wounds or divert energy.
More importantly, the absence of leaves gives you a crystal-clear view of its skeletal structure. I remember the first time I attempted pruning with a leafy crape myrtle, it was impossible to see which branches were crossing or truly dead.
Waiting until late winter means your cuts are strategic, not guesswork. Plus, that timing reduces the chance of inviting pests that love fresh cuts during the growing season.
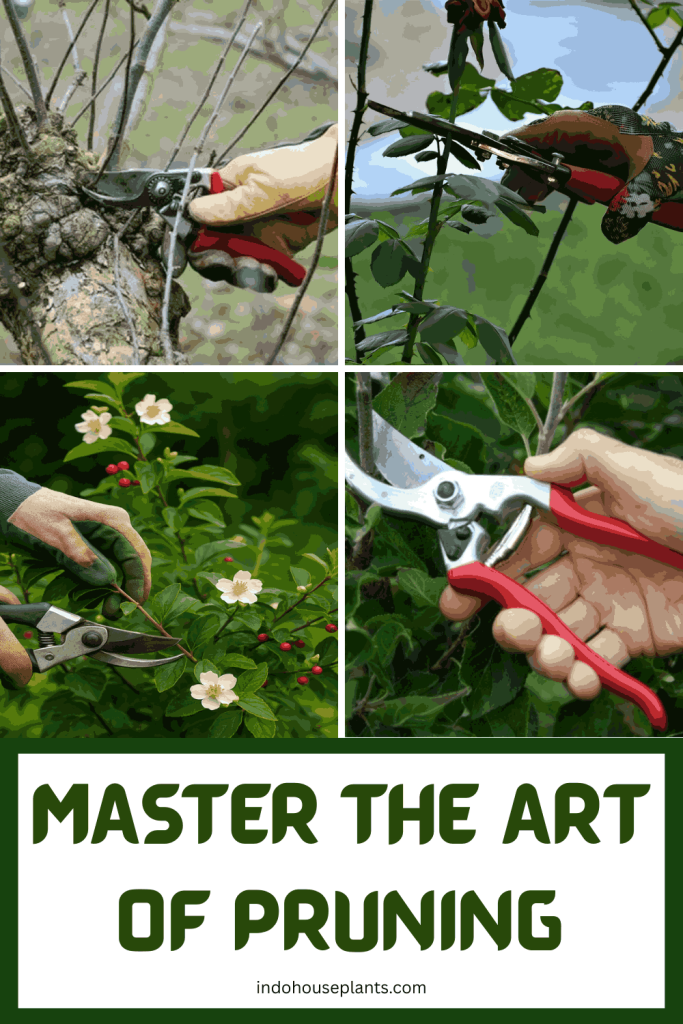
My Personal Take on Tools
I’m obsessed with having sharp, well-maintained tools. It’s surprising how many gardeners underestimate this. I keep two pairs of sharpening stones at the ready and clean my blades with rubbing alcohol before and after each session.
A clean, sharp cut isn’t just about aesthetics—it’s about plant health. In my experience, dull shears can crush or tear the bark, leaving the wood vulnerable to disease or slower healing.
How I Approach Styling My Crape Myrtles
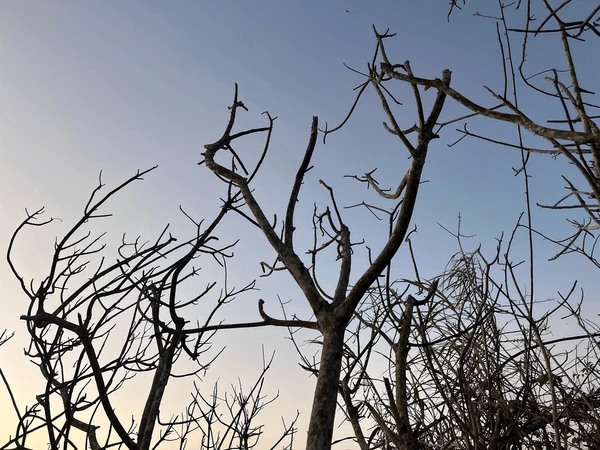
- First Pass: Dead & Diseased Wood
This is non-negotiable for me. I find that removing these branches early sets the foundation for a healthier plant and much better air circulation. Something most people overlook is that you can spot subtle signs of disease by gently bending branches—those that snap easily or feel dry inside are candidates for removal. - Next, Crossed Branches Are My Nemesis
Early on, I learned the hard way that ignoring branching that rubs together leads to wounds that attract fungal infections. I always pick the stronger, straighter branch to keep. A little insider tip: sometimes the “weaker” branch has more potential for blooms, so I look closely to find a happy medium. - Opening Up the Core
I aim for a natural, airy shape. The secret is not to remove too much from one side; I like to step back frequently and look from multiple angles. It’s like sculpting—sometimes a cut that seems harsh up close balances out the overall canopy beautifully. - Different Styles for Different Plants
For my crape myrtle shrubs, I target keeping stems around 18-24 inches tall, which keeps them dense but manageable. For those I’ve trained as small trees, I’ve invested time selecting three to five strong trunks and then pruning side branches back to maintain a light, rounded canopy that looks elegant, not overgrown.
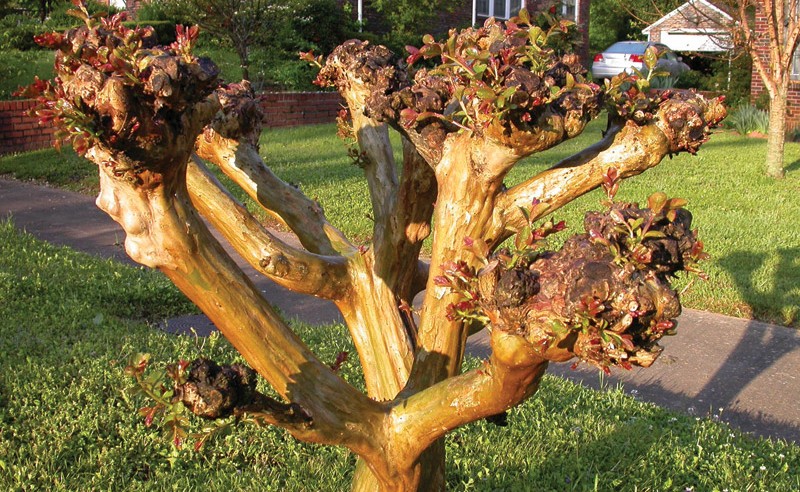
What “Crape Murder” Taught Me
Early in my gardening journey, I was guilty of “crape murder” — chopping back aggressively because I wanted quick results. The trees looked shockingly bare that summer, and flower production plunged.
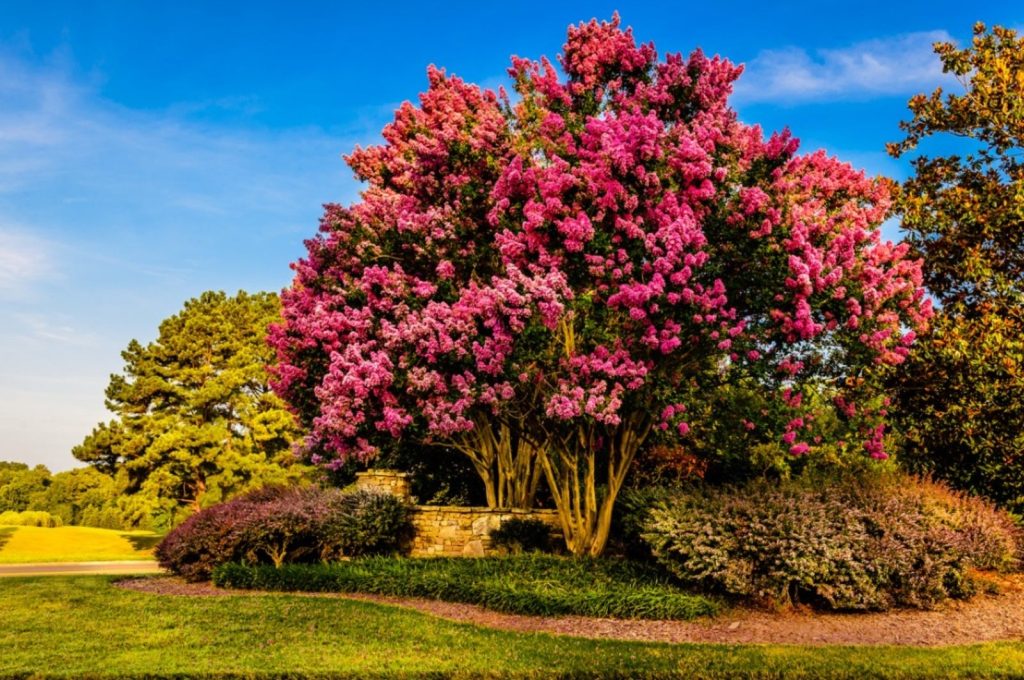
The lesson? Less is more. Consistent, moderate pruning over several years is far more effective. This patience approach has led to my favorite crape myrtle blooming more profusely and looking naturally graceful.
A Couple of Real-World Scenarios I’ve Encountered
- Scenario #1: A dense 5-foot shrub I inherited was so thick that sunlight struggled to reach the inside. I cut back about 25% of older wood, trimmed tall branches to about 18 inches, and carefully thinned crowded clusters. The change the following summer was stunning — it bloomed like never before with vibrant colors and healthy growth.
- Scenario #2: One of my crape myrtles was trained as a small tree and had too many low, messy branches. I carefully chose four sturdy trunks and pruned side shoots to create clean lines. It immediately gave the tree a more elegant silhouette and allowed me to mow easily underneath, which was a game-changer in my garden maintenance.
Troubleshooting Common Worries
- Not Sure Where to Cut?
I always look for buds and prune just above them, angling cuts slightly away from the bud. This technique encourages new growth heading outward, not inward. When removing larger branches, I avoid cutting flush with the trunk — leaving the branch collar intact helps with faster healing. The University of Maryland Extension has a great visual guide on how to make proper pruning cuts. - Afraid of Harming Your Tree?
Crape myrtles are surprisingly resilient. If you’re unsure, start slowly—my first years I only removed a few branches each season, and I watched carefully how the tree responded. Over time, you gain confidence and the ability to read your tree’s needs. - Overwhelmed by Too Many Branches?
Tackle it over a couple of years. I focus on dead branches first, then thin crowded areas bit by bit. Trying to do it all at once leads to mistakes and unnecessary stress on the plant.
A Personal Encouragement: This Is More Than Pruning
Styling crape myrtles has become one of my favorite gardening rituals. Every snip feels like a small conversation with the tree, guiding it to its best form.
You learn patience, to observe subtle growth patterns, and to appreciate the slow dance of nature’s timing. Plus, nothing beats seeing those long-lasting summer blooms reward your efforts.
Here’s What You Can Do Today
- Walk outside and take a close look at your crape myrtle’s structure. Spot any obviously dead or crossing branches.
- Sharpen and clean your pruning tools (trust me, it makes it so much easier).
- Plan your pruning session for late winter—circle it on your calendar.
- Snap a before photo. There’s something so satisfying about seeing the “after.”
- After pruning, don’t forget to mulch with organic matter like shredded bark or compost, which I swear by for keeping roots happy and soil moist.
In my experience, consistent, thoughtful pruning transforms crape myrtles into stunning garden jewels that flower heavily and stay healthy for years. You’re not just cutting branches—you’re coaching a living sculpture. Enjoy the process, and watch your garden glow!