Getting started with grow lights can feel overwhelming—until you plug one in and catch the scent of fresh basil on a snowy day. When I moved into a gloomy apartment with barely any sunlight, I thought my plant hobby was doomed. But grow lights turned out to be the easiest (and cheapest) plant upgrade I’ve ever made.
Let’s make this simple:
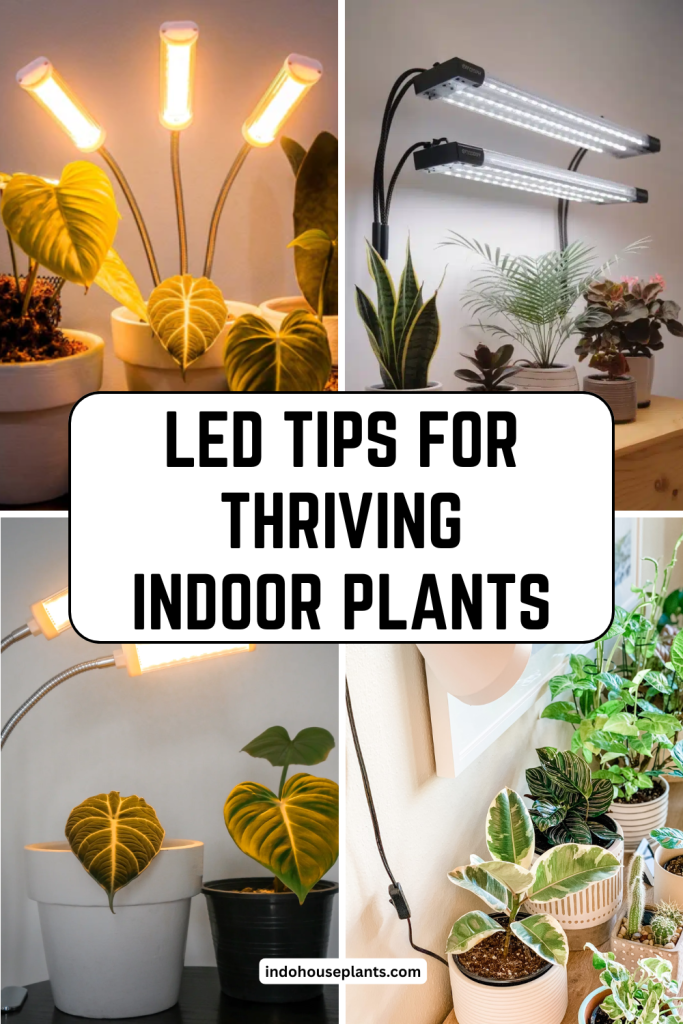
Why LED Grow Lights Are a Game-Changer
Old-school “shop lights” were clunky, hot, and expensive to run. My cat loved them, my electric bill didn’t, and my first attempt at lettuce turned into mush. Switching to a basic LED changed everything: more growth, no heat, no hassle.
Here’s why LEDs are my first choice for anyone:
- Low Energy, High Output: A 100W LED can light up a couple of shelves and uses less power than your toaster.
- No Heat Problems: Your plants won’t fry, and you aren’t sweating in your living room.
- Easy Maintenance: Set a timer and forget it—no bulbs to replace every month.
Full-spectrum actually matters. The best LEDs have a mix of blue and red light, which is what plants need for strong leaves and flowers. Even if you’re forgetful (I am), your plants will thrive.
Choosing Your First Grow Light: A Quick Guide
Skip the research rabbit hole. Use this fast checklist:
- Measure Your Space: How big is your plant shelf or table? Example: Lighting up a 2×2 foot area for herbs? You DON’T need a giant 300W panel.
- Match Light to Plant:
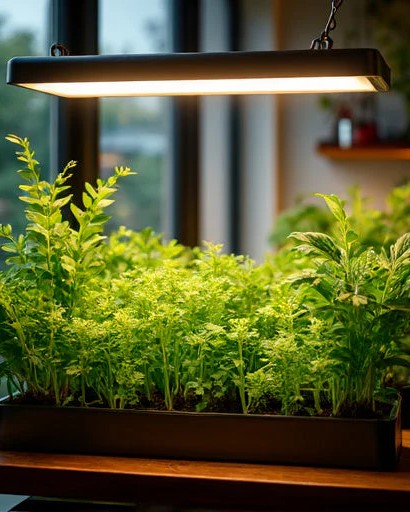
- Herbs & Leafy Greens: Not fussy. A simple 2-foot LED bar is plenty.
- Tomatoes & Peppers: Need more light—aim for a panel with higher output (100–150W for a few plants).
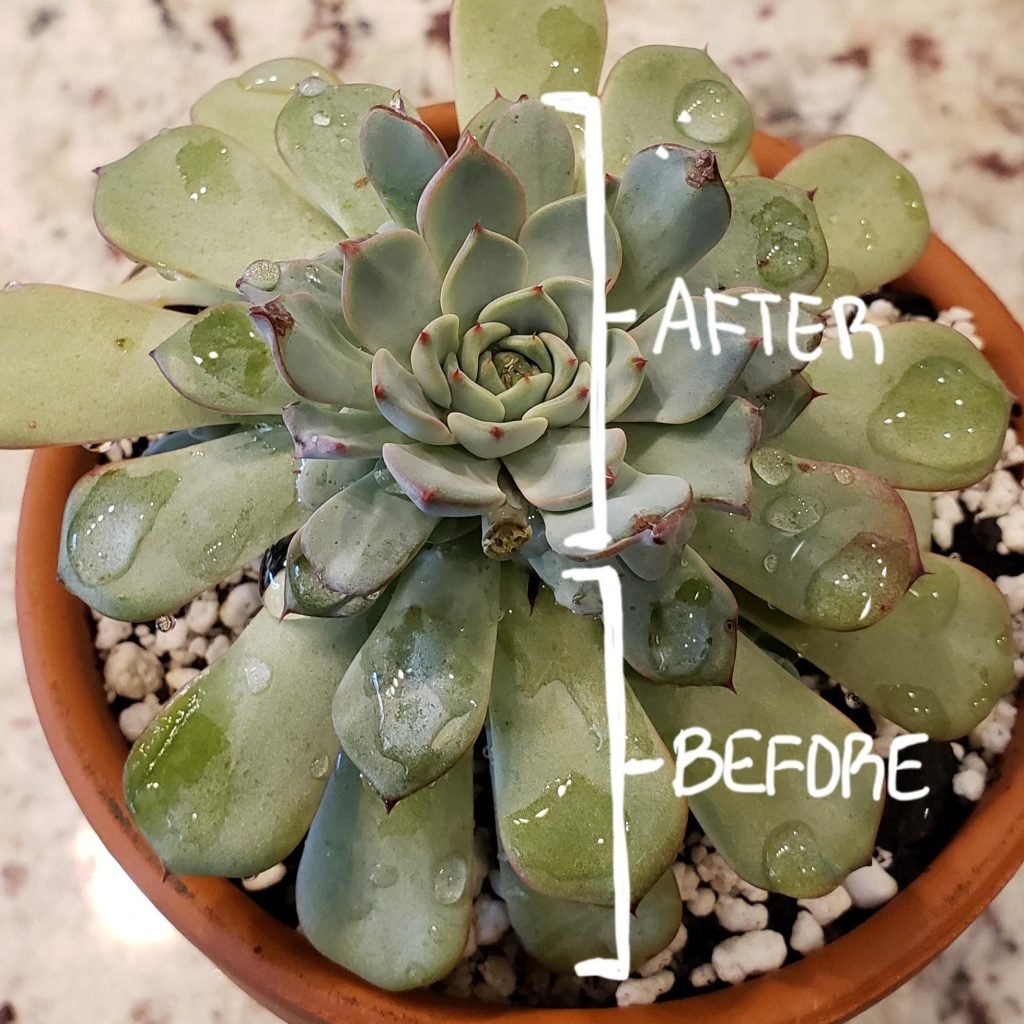
- Succulents: Love bright light, but not much heat. A small, intense LED spot works.
- Ignore Fake Wattage: If something says “1000W equivalent” but only uses 30W, it’s not powerful enough. Always check the actual wattage.
- Get a Timer: A basic $10 outlet timer will keep your plants on schedule, even if you forget.
Real-Life Setups That Just Work
- Kitchen Herbs: My friend stuck a 2-foot LED bar under a cabinet with tape. It cost less than $25, runs 14 hours a day, and her mint and basil never looked better.
- Indoor Tomatoes: I grew cherry tomatoes indoors with a single 150W LED hanging from a shelf. I got real fruit—even in January!
- Succulent Rescue: I revived sad, stretched-out succulents with a clamp-on LED I found online for $20. They perked up within weeks.
Avoid These Common Mistakes
- Don’t Buy the Cheapest, Unknown Brands: My $15 “deal” buzzed loudly and barely lit up the plants. Spend a little more for something with real reviews and a spectrum chart.
- Check Light Distance: If your plants are stretching or look pale, move the light closer (about 12–18 inches above most plants).
- Watch Soil Dryness: Even with “cool” LEDs, small plant boxes can dry out fast. Touch the soil every few days.
- Not All Plants Want the Same Setup: Your cactus and basil have different needs. If in doubt, use separate lights.
Your First Setup: Step-by-Step
- Measure your growing area (width and length).
- Pick a light: For most greens, 25–40W per square foot is enough.
- Example: For a 2×2 foot area, a 50–100W LED panel works great.
- Small shelf? A two-foot LED strip or clamp-on lamp.
- Plug the light into a timer set for 12–16 hours/day.
- Hang the light 12–18 inches above your plants.
- Check your plants every few days.
- If leaves look pale or stretched—move the light closer.
- If leaves look burned or curl—move it a little farther away.
Encouragement & Next Steps
Don’t overthink it. You don’t need expensive gear to see real results. Start with one shelf or one pot of herbs. In two weeks, you’ll see new growth—and probably want to add more plants.
Example Starter Setup:
- 2-foot LED bar ($20–30)
- Basic outlet timer ($10)
- Painter’s tape or zip ties to hang the light
- Measuring tape (or a ruler)
Try it for two weeks. Watch what happens. If you have questions, the online gardening community is full of friendly folks (including me!) who love to help troubleshoot.
Your first happy basil plant is the hardest part—after that, you’ll want to light up every corner. Just start, and tweak as you go.
You’ve got this!