When I first tackled adding brick-edged borders to my garden, I wasn’t just looking for a pretty finish—I wanted something that gave my space structure and stood the test of time without demanding constant upkeep. What surprised me most was how much a simple line of bricks transformed not only the look but the whole feel of the garden. If you’ve ever felt overwhelmed by the idea of creating clean edges in your yard, here’s a little insider perspective that might ease you in.
What Brick-Edged Borders Really Do (Beyond the Basics)
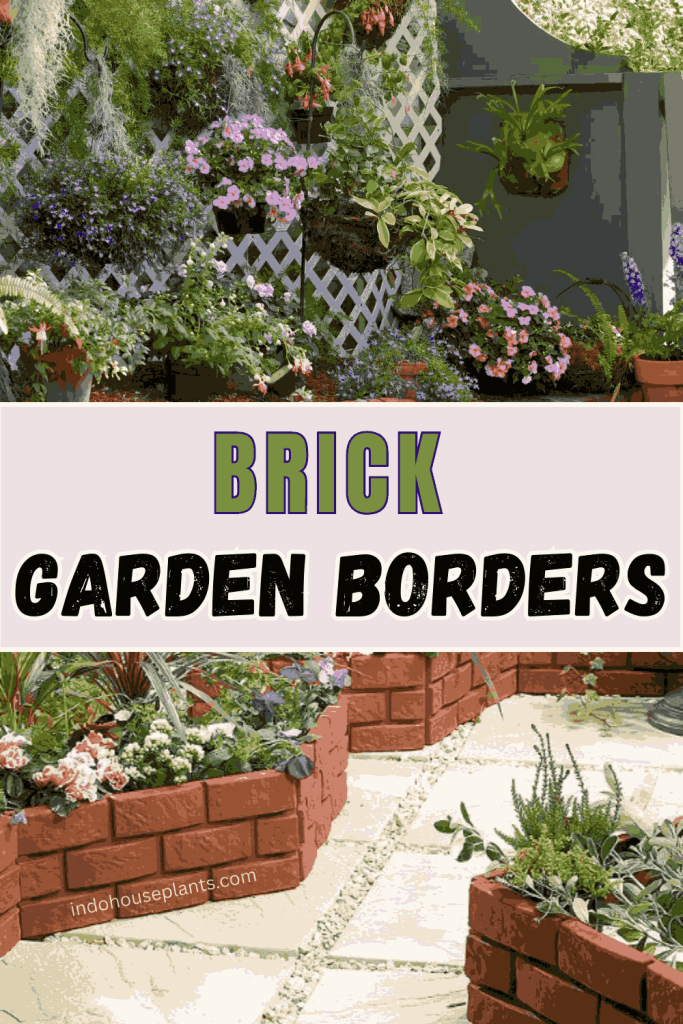
A brick border isn’t just a decorative line; it’s like drawing a clear boundary that tames nature’s tendency to spill over. When I laid bricks around my flower beds, I noticed my garden stopped looking like an unintentional jungle and started feeling like a curated space.
Think of them as the unsung heroes of garden design—not flashy, but they quietly keep weeds at bay, soil in place, and edges crisp as seasons change.
Here’s the thing most people don’t realize: bricks breathe with the earth. Unlike plastic or metal edging that can snap or warp, bricks settle naturally into your soil. Over time, they even develop a charming patina that new materials just can’t replicate. If you opt for clay pavers, you’re investing in a border that will survive everything from freezing winters to torrential summer rains.
Why Brick Edging Became My Go-To Choice
Here’s what happened the first spring after installation. My garden beds stayed neat; the mulch I’d painstakingly spread where it was needed stayed put after heavy rain rather than washing onto my lawn. And that clean edge? It made mowing feel less like a chore because I wasn’t constantly pulling grass out of flower beds.
Durability aside, bricks bring an unmistakable warmth. There’s something raw and timeless about their texture and color that ties a garden to the earth in a way plastic edging simply can’t mimic. When friends come over, they often comment on how inviting the borders feel without me even mentioning them.
The No-Nonsense Way I Lay My Brick Borders (and How You Can Too)
- Map It Like an Architect—But With a Twist
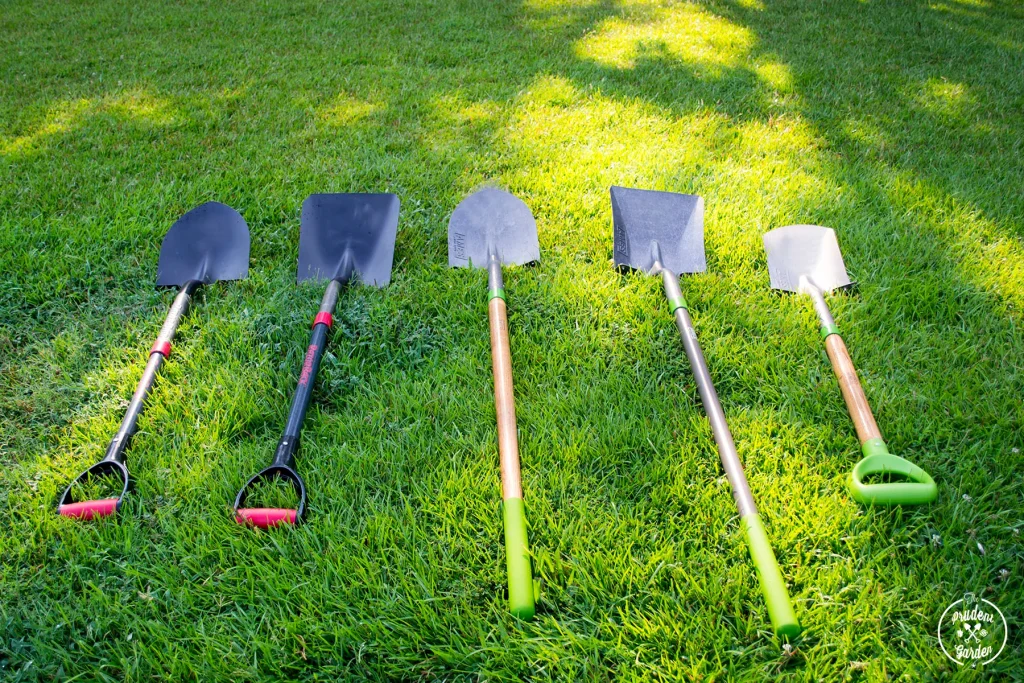
I don’t just eyeball it; I physically walk the lines where I want borders, pushing a garden hose into loose curves to see how it flows. This gives me a natural, less rigid shape which feels organic and friendly—even if your garden’s all straight lines, this step helps envision the space better. - Tools of the Trade (and a Couple Extras You Might Not Think Of)
Beyond shovel and level, I carry a small hand tamper to compact soil. Also, a simple garden spade sometimes beats a shovel for precision along curves. Depending on your soil, bring gravel or coarse sand to create a firm, dry base—trust me, it makes all the difference in how stable your bricks will be. - Digging the Trench: The Secret to Longevity
Most tutorials say 4-6 inches deep, but where I live the frost line can heave bricks if they’re too shallow. I take it down at least 8 inches in colder spots and always incorporate a gravel base for drainage. This little extra effort saved me from re-laying bricks after winter smash. - Laying Bricks Like a Pro
I like to stagger bricks a bit, similar to a bricklayer’s running bond pattern—this isn’t necessary for strength but adds a subtle visual interest. When you tap bricks with a rubber mallet, don’t rush. Small adjustments go a long way in preventing later shifting. - Finishing Touches
After the bricks are in place, I backfill soil and then press down firm before adding mulch. I also water the border well, which encourages soil to settle around the bricks, locking them in place. Don’t skip this step!
Real Life Wins with Brick Borders
Example 1: My Herb Garden’s Transformation
Before adding a brick border, my sprawling herbs blended too much with the lawn, and it felt chaotic. After setting a 4-inch high border, not only did it keep my path clear, but it also visually separated the space, making harvesting easier and my kitchen feel like it had its own dedicated garden nook.
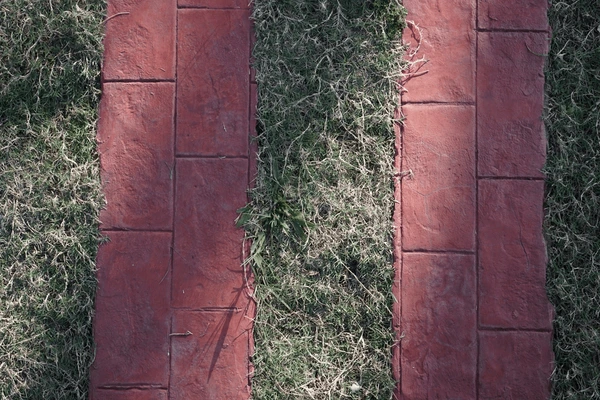
Example 2: The Gravel Path Rescue
One year, my gravel path started spilling over onto the grass, especially after wet weather. Adding brick edging kept the gravel contained while giving the path that polished look. Bonus: the bricks created a lovely warm contrast against the gray stones, making the path a real focal point rather than just a walkway.
Troubleshooting: What I Learned the Hard Way
- When Your Lawn is a Little Sloped
It’s tempting to skip leveling, but uneven bricks will just shift and eventually sink. Use a garden level frequently—if the ground’s tricky, try building a stair-step effect by slightly raising bricks on one side. It’s subtle but effective. - Bricks Moving Over Time
If you see bricks creeping apart or sinking, chances are the base wasn’t compacted well or drainage isn’t great. Adding a gravel layer underneath and filling gaps with sand instead of loose soil can prevent movement. - Picking the Right Bricks
Local garden centers often carry “standard” bricks that aren’t outdoor-grade. Ask for clay pavers or bricks labeled frost-resistant and exterior grade. A quick test: tap two bricks together; a solid, ringing sound means dense clay, which usually holds up better outside. You can learn more about paver types at sites like This Old House. - Keeping Costs Manageable
I found some reclaimed bricks from a friend demolishing an old patio—they added character and saved me a bundle. Check local classifieds or salvage yards; old bricks often come with stories and unique textures you won’t find in new stock.
A Little Pep Talk for the First-Timers
Brick edging is one of those projects where each brick you lay feels like progress, and the glimpse of that straight line against all the chaos in your garden provides unexpected joy. It’s not about perfect masonry—your eyes and plants will forgive a few wonky bricks. What matters is the boundary you create, the care you put into defining your space.
When it comes to gardening, these small, deliberate decisions ripple out into how you feel about your yard. I promise: once those bricks are in place, you’ll find yourself smiling a little wider every time you walk past your borders.
Ready to Start? Here’s What I Do
- Walk your yard with a hose or string to sketch potential borders freehand.
- Measure lengths so you don’t get halfway through and run out of bricks.
- Head to your local supply store or salvage yard to feel the bricks under your hands—texture and weight matter.
- Gather your tools, carve out a few hours on a weekend, and dive in.
- Invite a friend over; it makes the project more fun and keeps momentum going.
You’re not just building edges—you’re shaping your garden’s personality. It’s one of those projects that turns a patch of dirt into a space that feels like home. So grab those bricks and start framing your story, one sturdy step at a time. You’ve got exactly what it takes.